Most DIY saddle fitting advice for men starts with sitting on a foam block, finding two dents, and declaring the distance between them to be your saddle width. That number works fine for a quick spin to the coffee shop. It falls apart the moment you bend forward, rotate your pelvis, and put real hours on the bike.
Pressure on the perineum matters more than sit bone spacing. That is where the pudendal artery and nerve run. Squeeze that area long enough and you get numbness, saddle sores, and worse. A better DIY fit measures three things that most online guides ignore, and one of them has nothing to do with the foam block.
A Foam Block Cannot See Your Pelvis Move
Sit on cardboard or memory foam and mark the deepest dents. The measurement you get describes an upright, static posture. On a road bike, your pelvis rotates forward as you lower your torso. In an aero tuck it rotates further still. Your sit bones end up behind you while your pubic bone and soft tissue carry more of the load.
That static measurement also misses what happens when you pedal. Your pelvis tilts side to side as you push each crank arm. The amount of tilt changes with saddle height, crank length, and hamstring flexibility. Two riders with identical sit bone widths need different saddle shapes. One needs a wide rear with a steep drop. The other needs a flatter profile with more front clearance. A foam block cannot see that difference. You feel it as hot spots or numbness.
The 82 Percent Drop That Reorders the Checklist
Urology researchers measured penile oxygen pressure in male cyclists seated on different saddle types. A narrow, heavily padded saddle caused an 82 percent drop in penile oxygen. A wider noseless design limited the drop to about 20 percent. Those results appeared in European Urology.
That means pressure mapping matters more than sit bone width. Sit bone width still matters for support, but the first job of a fitting tool is to map where pressure lands on the perineal arteries. You can do this at home with pressure-sensitive film. Cut a piece, place it on your saddle, and ride for ten minutes on a stationary trainer. Or use oil-based clay sealed in a zip-top bag. The imprint shows high-pressure zones near the saddle nose. If that zone overlaps the centerline, your saddle is compressing the pudendal artery.
This is not a small comfort issue. Long-term pressure reduces blood flow, and nerve damage follows if the pressure continues. Men who ignore early numbness often end up with saddle sores that force them off the bike. A pressure map gives you a specific visual reason for what you are feeling.
An Adjustable Saddle Changes the Fitting Loop
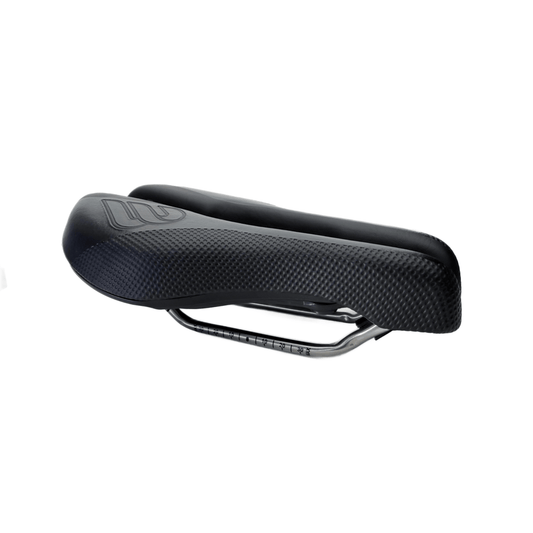
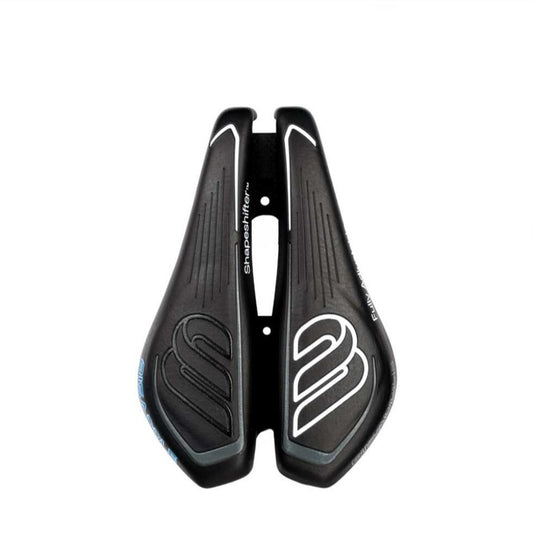
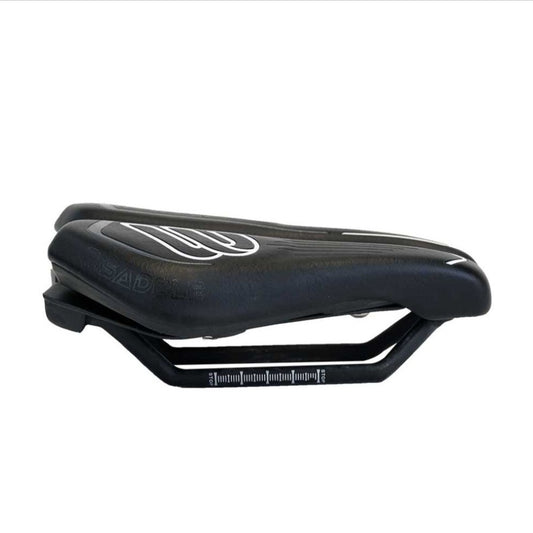
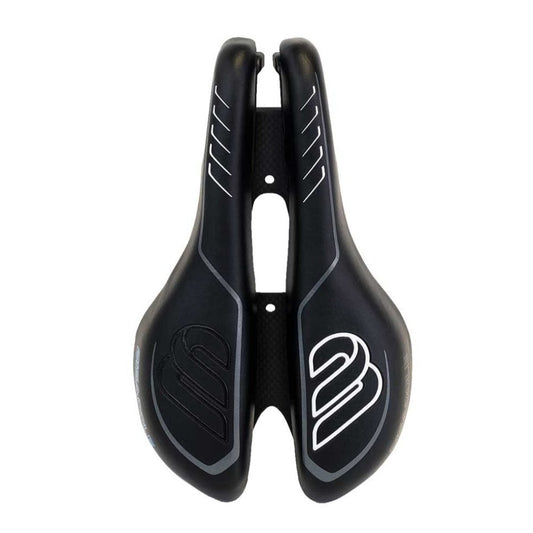
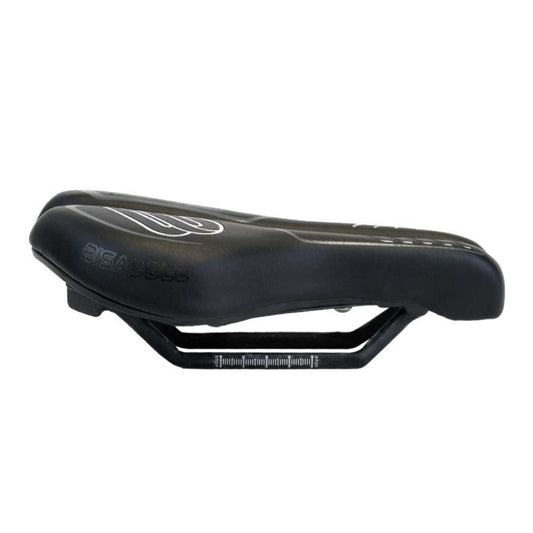
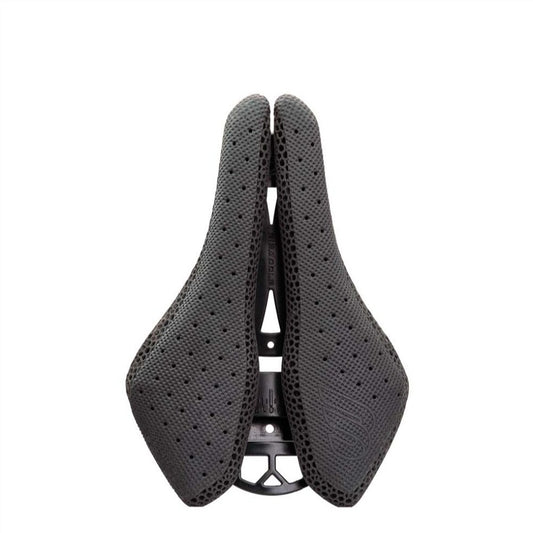
A fixed saddle asks you to measure first and hope the shape fits. The Bisaddle adjustable saddle works in reverse. The rear width adjusts from 100 mm to 175 mm. Each half slides inward or outward on its own. The front section narrows to reduce nose pressure.
You ride, feel pressure, stop, adjust, and ride again. The saddle itself becomes a pressure mapping instrument. You do not need to buy several saddles to compare shapes. Move the halves and note where soft tissue pressure disappears. The mechanism gives feedback in real time.
The loop is quick. Loosen the rail bolts, slide each half a few millimeters, retighten, ride for five minutes, and repeat until the film no longer shows a centerline mark. Because the halves move independently, you can set a slight angle difference between left and right. Some men carry more sit bone pressure on one side due to leg length asymmetry or old hip injuries. With Bisaddle, you match the saddle to your measured asymmetry instead of forcing your hips to adapt.
Three DIY Measurements to Run First
Run these three measurements before you touch the width bolts.
- Pelvic tilt while seated on the bike. Place a protractor or smartphone angle app against your sacrum and note the angle of your pelvis relative to the saddle rails. If your pelvis rocks side to side at the bottom of each pedal stroke, the saddle is too high or the rear width is too narrow.
- Perineal pressure map under riding load. Use the film or clay method. The goal is no continuous pressure line along the centerline. A clear gap down the middle means your soft tissue is not bearing your weight.
- Sit bone support width at the widest contact patch. Sit on the saddle in your typical riding position, not upright. Have someone mark the outer edges of the contact patch on the saddle. Compare that width to the rear section's current setting. If the patch extends beyond the saddle edge, widen the rear halves until the imprint falls inside.
These three numbers replace the single foam block number. Width becomes one variable among three. The pressure map tells you whether the fit is actually working.
Your Fit Needs a Recheck Season After Season
Men's bodies change with training, weight, flexibility, and injury. A saddle fitted in spring can stop fitting by July if you add hours and lose hamstring flexibility. The Bisaddle design lets you redo the fit in about 15 minutes on any ride.
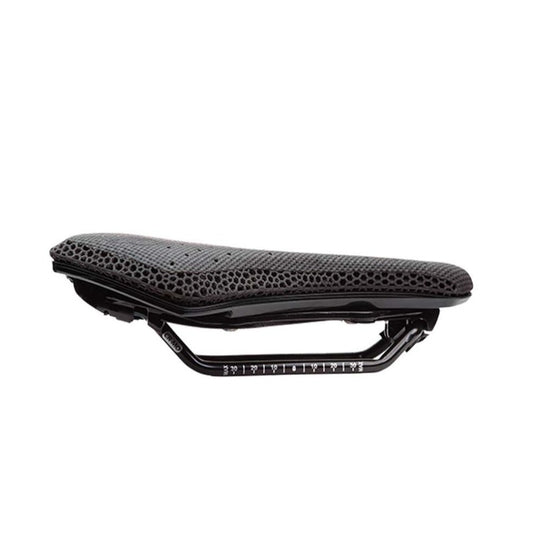
The Saint model adds a 3D printed foam lattice on top of the adjustable structure. That lattice deforms locally under sit bone load while keeping the central gap open. The width adjustment changes support without adding a thick gel layer that sags and pushes upward into the perineum. You read the pressure map, widen the rear halves, tilt one side a degree, and retest. That loop replaces the old trial and error of buying a new saddle.
The film costs a few dollars. The saddle adjustment costs nothing after purchase. The result is a fit that follows your body instead of forcing your body to follow a fixed shape.