Most male cyclists buy their first serious saddle after a bike fitter measures sit bone width. That number matters, but it starts from a flawed assumption: the shape you need on day one will stay the shape you need in every riding position. It will not.
A beginner might spend 30 minutes on a test saddle in one posture, then go home and use that saddle for drop-bar intervals on the road, indoor trainer sessions on rainy days, and long gravel climbs on the weekend. Those positions load the sit bones and perineum differently. A saddle that fits upright will not fit in the drops.
A century of fixed saddles
The first bicycle saddles were leather stretched over a frame. They broke in over hundreds of miles and took on the rider's shape. That process worked if you had weeks to break in a saddle and did not mind the weight.
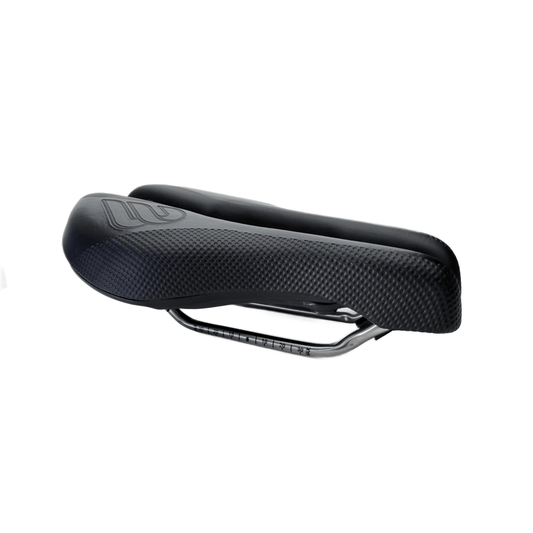
Molded foam and plastic shells arrived in the 1970s and 1980s. They were lighter, cheaper, and weatherproof. They also removed the break-in personalization. From then on, most saddles came in a few fixed widths. A misfit meant buying another saddle.
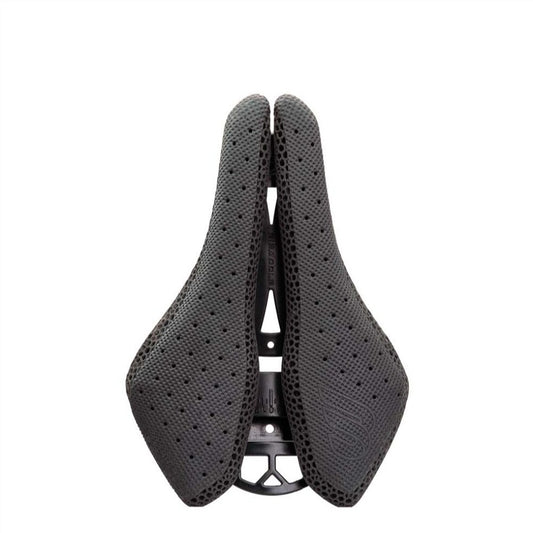
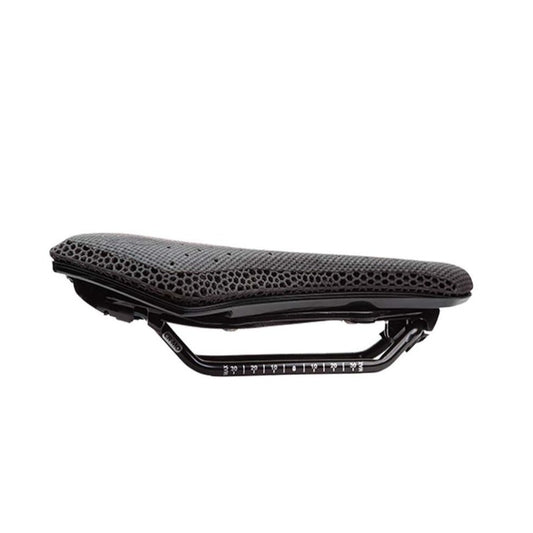
Short-nose designs and central cutouts addressed perineal pressure by removing material from the front and center. The rear width stayed fixed. 3D-printed padding then allowed different firmness zones inside one pad. Still, the shape you bought was the shape you rode.
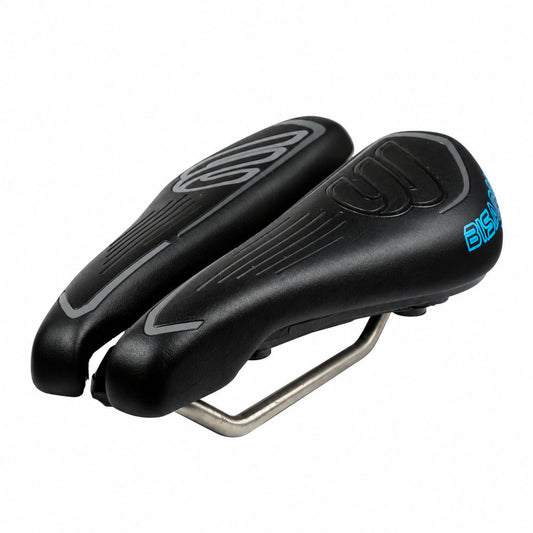
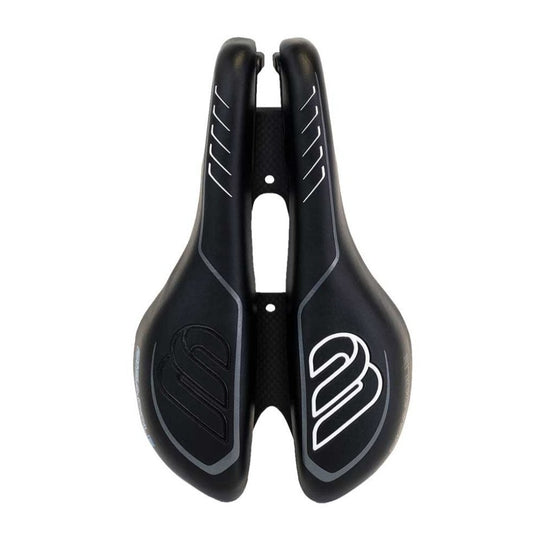
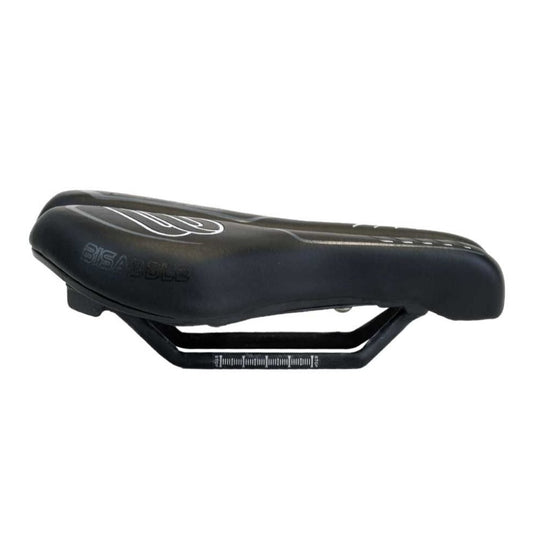
Bisaddle took a different route. Its two rear halves slide outward or inward, and each half can tilt independently. The rider changes the shape.
Why male beginners feel pressure first
Male anatomy concentrates the relevant risk in a narrow channel. The pudendal artery and nerve run through the perineum. When a saddle is too narrow, the sit bones do not carry the load. The perineum does.
The first symptom is numbness. New riders often mistake that numbness for weak tolerance and buy more padding. But a 2002 study published in European Urology measured penile oxygen pressure in male cyclists. A narrow, heavily padded saddle produced an 82% drop in oxygen pressure. A wider noseless design reduced that drop to about 20%.
The study authors concluded that adequate width matters more than padding for preserving blood flow. That single finding should shape every beginner's first saddle decision.
The padding mistake
Padding can feel soft in the shop and fail on the road. When a saddle is too narrow, the sit bones do not rest on the wings. The soft tissue between them sinks into the foam.
A thick pad compresses under the sit bones and can push upward into the perineum, which is the opposite of relief. What feels plush in your hands becomes a pressure point after 45 minutes in the saddle.
The other issue is that padding does nothing to change the saddle's width. A narrow gel saddle is still narrow. If your sit bones measure 130mm apart and the saddle's rear profile is 110mm across the load-bearing area, no amount of foam will fix the gap.
The adjustability fix
On a drop-bar road bike, the pelvis rotates forward and the pubic rami take more load than they do on an upright bike. On an indoor trainer, a rider rarely stands or coasts, so pressure stays continuous for 45 to 60 minutes. On a gravel climb, a rider sits in one place while vibration moves through the saddle.
A beginner who rides all three needs a saddle that can change with them. Bisaddle's rear width range of 100 to 175mm lets the same saddle move from a narrow setting to a wider one. The split design also leaves a central gap between the two rear halves.
That gap works like a cutout, but you control its width. You can widen the rear to support the sit bones and then narrow the front gap when you drop into a lower position. A fixed cutout cannot do that.
Setting up your first Bisaddle
Start with the rear width. If you do not have a sit bone measurement, sit on a piece of corrugated cardboard and measure the centers of the two depressions. Set the rear halves to that distance. Then adjust outward or inward after your first ride.
- Set rear width to your sit bone spacing.
- Set the front gap so pressure on the soft tissue disappears in your lowest riding position.
- Tilt each half independently. A small upward tilt supports the pelvis in an aero position. A flat rear may suit upright riding.
- Test on a trainer for 20 minutes. Numbness in the first 20 minutes means a width or angle move, not more padding.
The Bisaddle Saint pairs this adjustable shape with a 3D-printed foam lattice on the contact surface. The lattice can be printed with different densities under the sit bones and the front halves. That removes the need for a thick gel pad. For a first serious saddle, the Saint is a practical starting point because it combines the adjustable frame with modern printed padding.
What the next adjustable saddle will do
Adjustable saddles are the next step in a line that moved from leather break-in to foam, then cutouts, then printed lattice. The next development will likely add pressure mapping to the adjustment process.
A saddle with two separate halves already has a natural place to fit sensors: one under each sit bone. That would show a beginner, in real time, whether the load sits on bone or soft tissue. Bisaddle's split design makes that easier than adding sensors to a one-piece shell.
The first saddle you should buy
The first saddle you buy should not be the one that feels softest in a shop. It should be the one you can adjust after your first numb mile.
A fixed shape is a decision made before you have data. An adjustable shape lets you collect data every ride. For a male beginner, that is not a convenience. It is the difference between riding through numbness and eliminating it.