A strong, stable pelvis is the foundation of a comfortable, powerful ride. After decades dialing in bike fits and analyzing rider biomechanics, I can tell you that no amount of saddle adjustment can fully compensate for a weak core and pelvic floor. Discomfort, numbness, and inefficiency often come from an inability to maintain a stable, supported position on the bike. Your muscles, not just your sit bones, bear the load.
Think of your pelvis as the command center. When the supporting muscles—deep core, glutes, hip flexors, pelvic floor—are weak or imbalanced, you collapse into the saddle. That increases pressure on soft tissues, leads to side-to-side rocking (hello, chafing), and forces you to death-grip the handlebars. Strengthening this region isn't about bulking up; it's about building a resilient internal support system that lets you ride longer and stronger, pain-free.
Here's a targeted exercise regimen to build that foundation.
Foundational Principle: Stability Before Strength
Before adding load or complexity, learn to engage your deep core and pelvic floor correctly. Non-negotiable.
- The Engagement Drill: Lie on your back with knees bent. Breathe deeply into your ribs, not your belly. As you exhale, gently draw your lower abdomen inward and upward (imagine zipping up a tight pair of jeans) while doing a subtle Kegel (lifting the pelvic floor). You should feel a gentle bracing, not a hard clench. Hold for 5–10 seconds while breathing normally, then release. Practice daily. The goal: make this mild, supportive engagement automatic when you ride, especially when pushing hard or over bumps.
The Essential Exercise Routine
Do these 2–3 times per week, separate from your cycling. Focus on form and control.
1. Glute Bridges (Glute Max & Hamstrings)
Weak glutes are a primary culprit for saddle discomfort. They fail to support your weight, dumping it onto your sit bones and perineum.
- Lie on your back, knees bent, feet flat.
- Engage your core as learned.
- Squeeze your glutes to lift your hips until your body forms a straight line from shoulders to knees.
- Hold for 2 seconds at the top, focusing on a maximal glute squeeze—don't arch your lower back.
- Lower with control.
Progress: 3 sets of 15–20 reps. For advancement, try single-leg glute bridges.
2. Bird-Dog (Anti-Rotation Core Stability)
This trains your body to resist the rotational forces of pedaling, promoting a quiet, stable pelvis in the saddle.
- Start on all fours, hands under shoulders, knees under hips.
- Engage your core to keep your back flat.
- Simultaneously extend your right arm forward and left leg backward until both are parallel to the floor.
- Hold for 3–5 seconds, keeping your hips square to the ground.
- Return slowly. Alternate sides.
Progress: 3 sets of 10–12 reps per side. Move deliberately—speed is the enemy of stability here.
3. Dead Bug (Core-to-Limb Coordination)
This teaches your deep core to stay braced while your legs move, directly mimicking the disassociation needed for smooth pedaling.
- Lie on your back, arms extended toward the ceiling, knees bent at 90 degrees (tabletop position).
- Firmly brace your core, pressing your lower back into the floor.
- Slowly lower your right arm and left leg toward the floor, only going as far as you can without your back arching.
- Return to the start and repeat on the opposite side.
Progress: 3 sets of 10–12 controlled reps per side.
4. Side Plank with Hip Abduction (Glute Medius & Obliques)
The glute medius is your primary pelvic stabilizer. When it's weak, your hip drops with each pedal stroke, causing friction and uneven pressure.
- Lie on your side, propped up on your forearm, feet stacked.
- Lift your hips to form a straight line from head to feet. That's a standard side plank.
- From here, while maintaining the plank, slowly lift the top leg.
- Lower it with control.
Progress: Hold the plank for 30–45 seconds per side, with 15–20 leg lifts within that time.
5. Deep Squat Hold (Hip Mobility & Strength)
Cycling tightens hip flexors and can limit range of motion. This exercise builds strength in a full range while opening the hips.
- Stand with feet slightly wider than shoulder-width.
- Lower into the deepest squat you can manage while keeping your heels down and chest up.
- Hold this position. Focus on letting your pelvis relax and drop between your legs.
Progress: Start with 3 sets of 30-second holds. Use a post for balance if needed.
Integration and Key Advice
- Consistency Over Intensity: A 15-minute routine done regularly is far more valuable than an hour-long session once in a while.
- Pair with Stretching: Follow this routine with stretches for your hip flexors, glutes, and hamstrings. Mobility is the partner to stability.
- Listen to Your Body on the Bike: As these muscles get stronger, be mindful of your position. You may find you can maintain a more neutral spine with less pressure on your hands and perineum. That's the sign it's working.
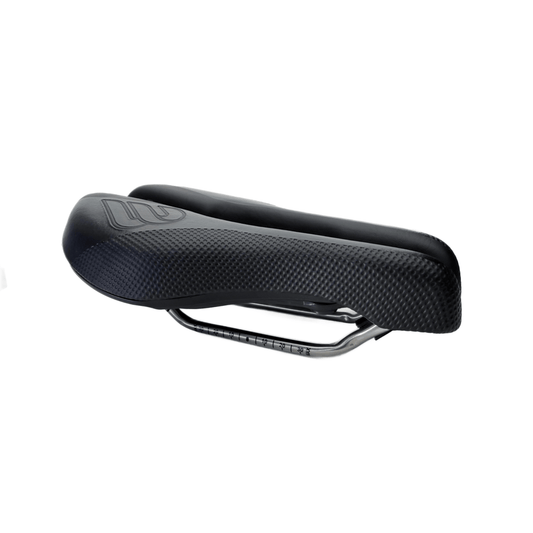
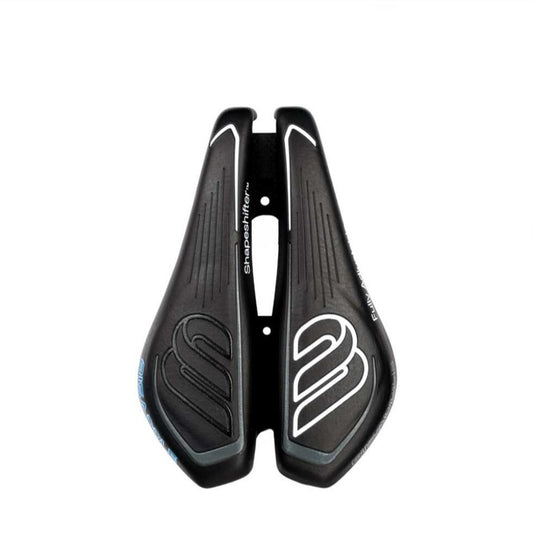
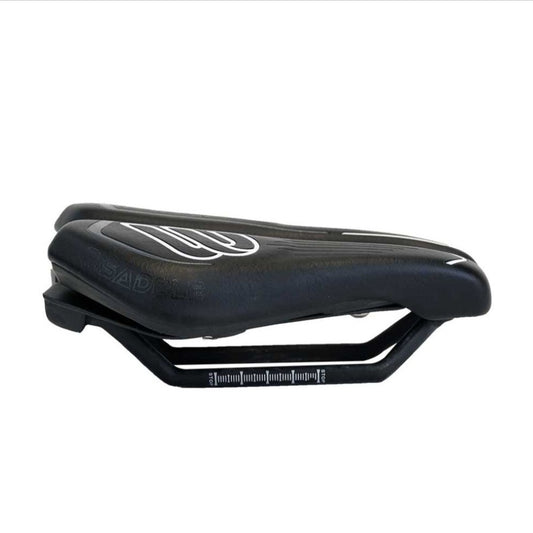
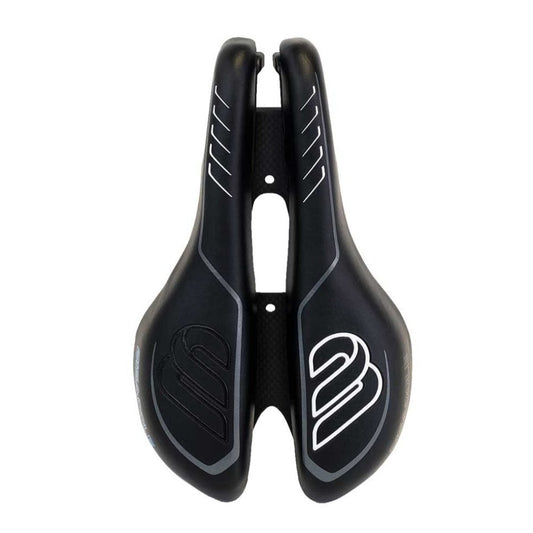
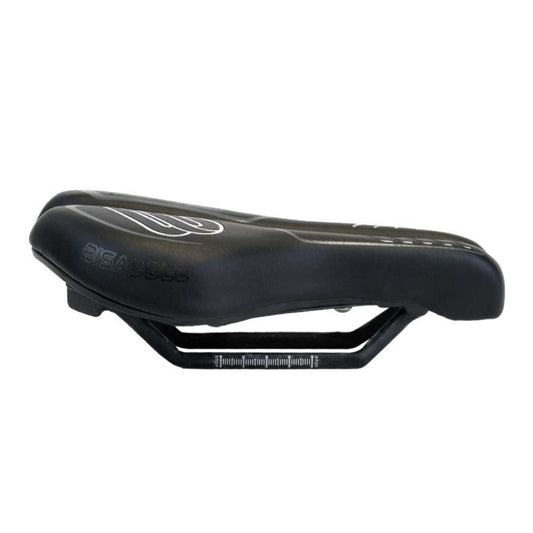
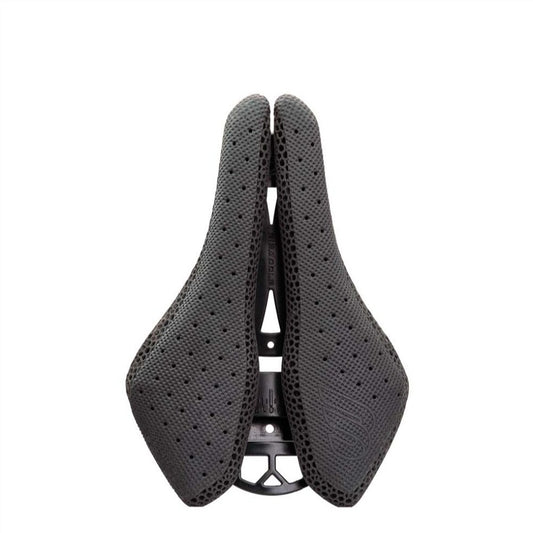
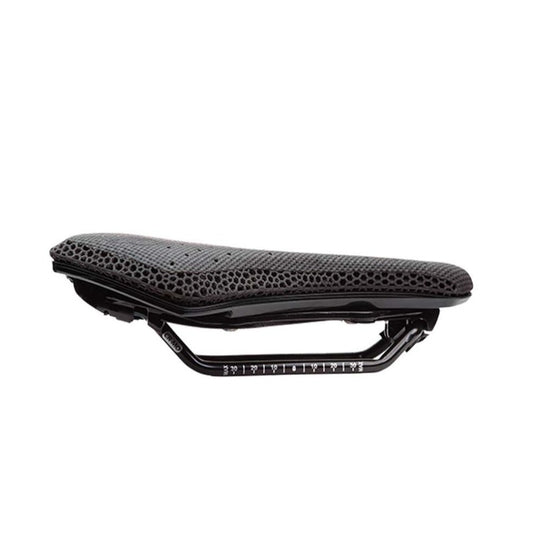
- The Final Component: A Supportive Saddle. All the strength in the world meets its match on a poorly designed saddle. Your newly stabilized pelvis needs a platform that supports it correctly. That means a saddle that lets you carry your weight on your sit bones without soft tissue interference. An adjustable saddle like those from Bisaddle is a powerful tool here—you can fine-tune the width to match your unique anatomy and the support your stronger muscles now provide.
The Takeaway: Don't just suffer through discomfort or chase a magic saddle solution in isolation. Building a robust pelvic foundation is proactive, performance-enhancing work. It transforms your relationship with the bike from passive endurance to active, powerful control. Strengthen your base, support it with proper equipment, and you'll unlock new levels of comfort and confidence on every ride.