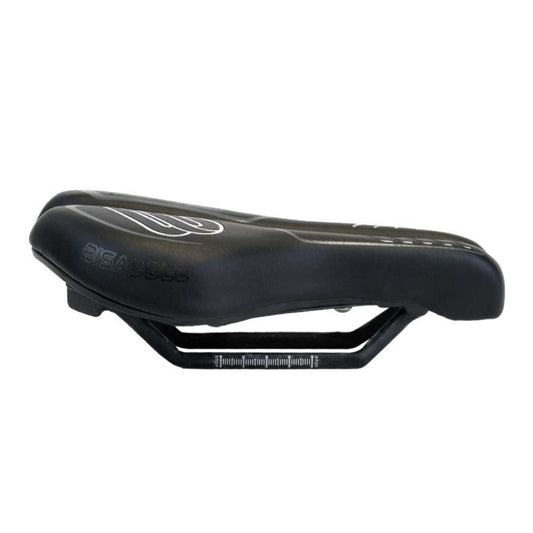
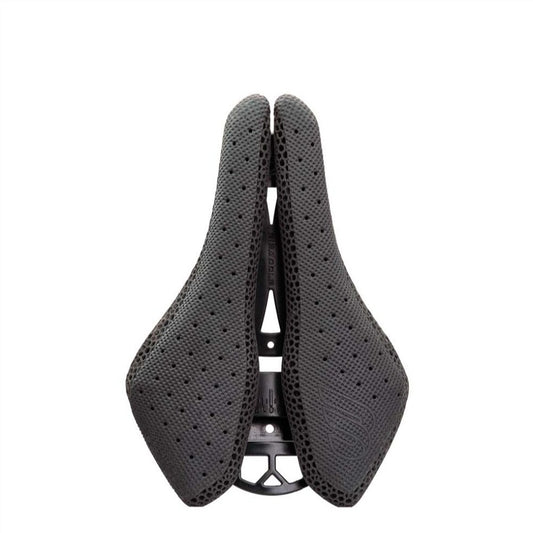
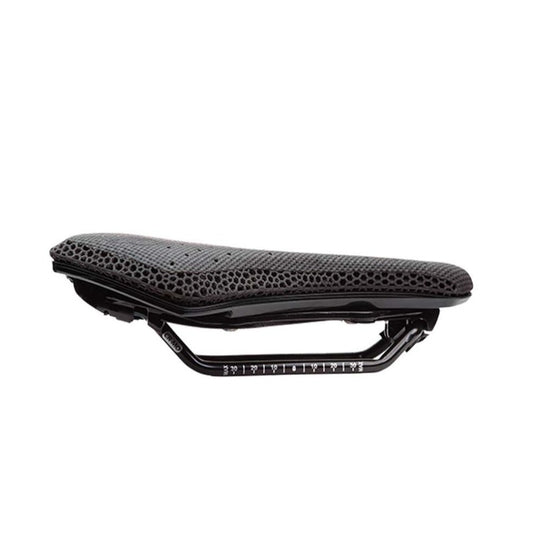
A proper warm-up is your first and most powerful defense against saddle discomfort. It's not just about raising your heart rate—it's a strategic process to prepare your body's interface with the bike: your pelvis, hips, and core. Jumping on the bike cold forces your body into a position it's not ready for, leading to poor posture, excessive pressure on soft tissue, and the dreaded numbness or chafing that can ruin a ride. Think of it as pre-loading your personal suspension system for a smooth, comfortable journey.
Why a Warm-Up Directly Prevents Saddle Problems
When you start a ride with cold, tight muscles, your body compensates. Your hip flexors are short, your glutes are asleep, and your core isn't engaged. This causes your pelvis to rock or tilt, shifting your weight off your sit bones and onto sensitive perineal tissue. A targeted warm-up solves this by increasing blood flow, improving mobility, and activating the muscles that stabilize your pelvis. This ensures your weight is correctly distributed on the saddle from the very first mile, preventing the pressure points and friction that lead to long-term issues.
The Off-Bike Activation Sequence (5-10 Minutes)
Don't even touch your bike yet. This phase is about waking up the support system.
Dynamic Mobility Drills
Perform these for 30-60 seconds each to open up the hip complex and spine:
- Leg Swings: Forward/back and side-to-side. This loosens the hip flexors and abductors critical for a fluid pedal stroke.
- Walking Lunges with a Torso Twist: Activates glutes, quads, and core while promoting thoracic rotation, which is essential for maintaining a stable trunk.
- Cat-Cow Stretches: Mobilizes the spine and teaches conscious pelvic tilting, helping you find a neutral spine position on the bike.
Core & Glute Activation
Your core and glutes are your saddle's shock absorbers. A few simple exercises prime them for duty:
- Plank (30 seconds): Focus on a tight, straight line from head to heels. This reminds your entire core to engage.
- Glute Bridges (10-15 reps): Lie on your back, knees bent, and drive your hips upward, squeezing your glutes at the top. This directly fires the muscles that should be powering your pedal stroke, taking load off your saddle contact points.
The On-Bike Progressive Warm-Up (15-20 Minutes)
Now you're ready to ride. This is a gradual, intentional build, not a sprint out of the driveway.
Phase 1: Easy Spinning & Settling In (Minutes 0-10)
Start in a comfortable, upright position (hands on the hoods or tops). Use a very easy gear and focus on spinning a smooth, high cadence (90-100 RPM).
The Goal: This allows your body to naturally settle onto your sit bones. It gives the chamois in your shorts time to conform and your body to find its natural, weight-bearing position on the saddle. This initial phase is crucial for establishing proper blood flow to the area before any intensity is added.
Phase 2: Introducing Movement & Unweighting (Minutes 10-15)
Begin to consciously move on the bike. This practice is critical for preventing numbness.
- Shift your hand position every few minutes (hoods, tops, drops).
- Gently shift your weight slightly from one sit bone to the other.
- Most importantly, stand out of the saddle for 15-20 seconds every 3-4 minutes. This completely unweights the perineal area, restoring full blood circulation long before any numbness signals start. It's a proactive reset.
Phase 3: Neuromuscular Drills (Minutes 15-20)
Finish your warm-up with drills that cement good mechanics and pelvic stability.
- High-Cadence Spins: For 1-2 minutes, in an easy gear, spin at 110+ RPM. Focus on keeping your upper body and pelvis perfectly still. This trains stability and prevents the bouncing that causes chafing.
- Single-Leg Focus: Pedal normally for 30 seconds, then focus on pulling your foot smoothly across the bottom and up the back of the stroke for 30 seconds with each leg. This promotes a round, efficient pedal stroke that minimizes dead spots—a key source of rocking pelvis and saddle friction.
Listening to Your Body: The Warm-Up as a Diagnostic Tool
This low-intensity period is also your chance to troubleshoot. Pay close attention to what you feel.
- Do you feel a pinpoint pressure or "hot spot" immediately? This is a major red flag indicating a potential bike fit or saddle compatibility issue that needs addressing.
- Does your lower back or hips feel strained trying to hold position? This suggests core weakness or a fit problem that will force you onto sensitive tissue later in the ride.
A proper warm-up should feel progressively more comfortable, not less. If it doesn't, that's your cue to investigate your position or equipment before piling on the miles.
The Final Word
Treating your warm-up as a non-negotiable ritual is the mark of a smart, experienced cyclist. It's the simplest, most effective practice to ensure your body and your bike work in harmony. By dedicating 20-30 minutes to this proactive routine, you're not just preparing your engine—you're safeguarding your comfort, health, and longevity in the sport. Combine this disciplined approach with a professional bike fit and a saddle designed for proper support, and you've built an unshakeable foundation for pain-free performance. Now go ride, and ride comfortably.