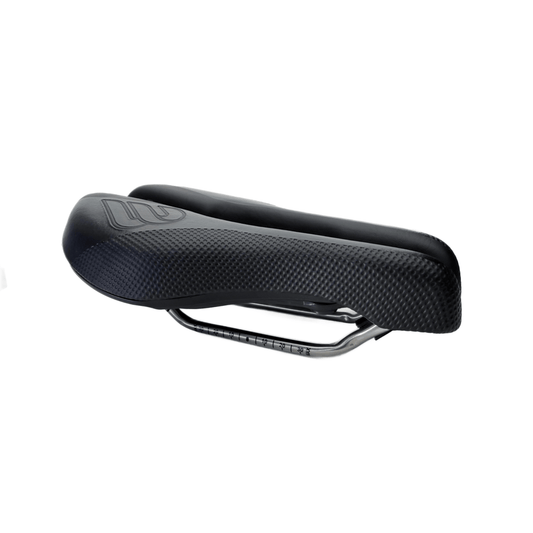
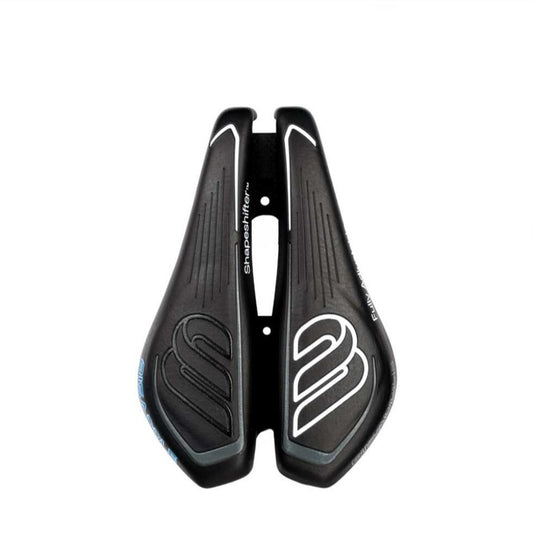
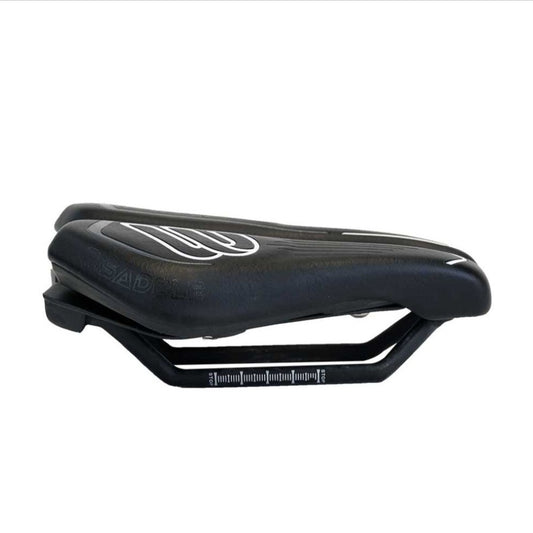
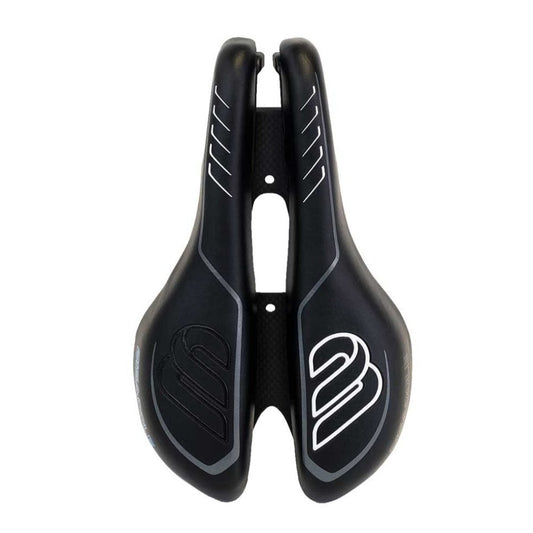
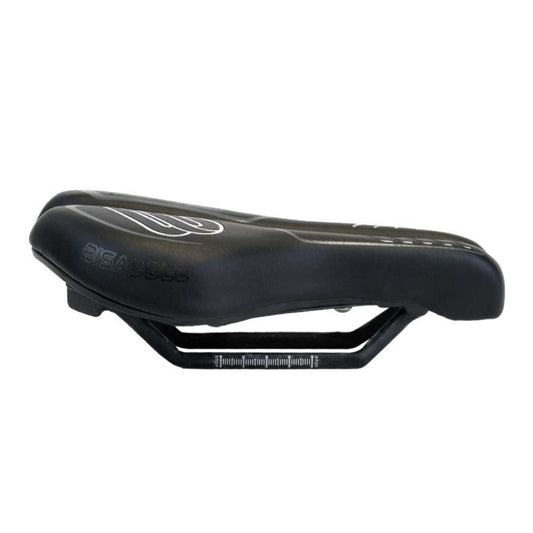
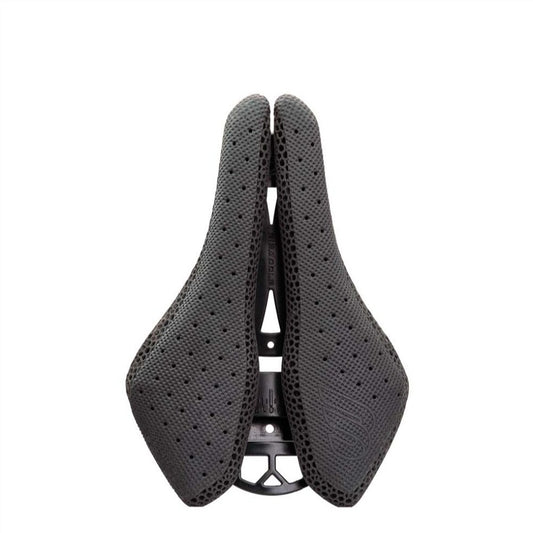
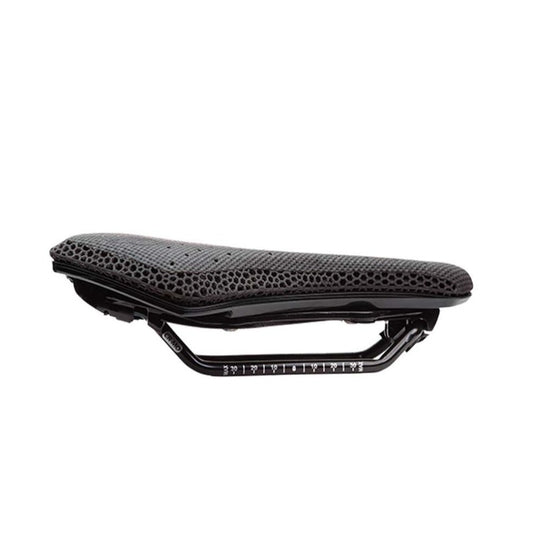
For decades, the cycling community has treated saddle installation as a binary task-set the height, level the nose, tighten the bolts, and call it done. This static approach assumes that the rider's body, riding style, and discipline remain constant. But any serious athlete knows that the human body is a system of moving parts, and the bicycle is an extension of that system. The saddle, as the primary interface between rider and machine, deserves a more sophisticated installation methodology-one that treats the saddle as a variable in a dynamic equation rather than a fixed point.
This guide approaches saddle installation through the lens of adaptive biomechanics, drawing on principles from prosthetics engineering, physical therapy, and ergonomic design. We'll explore how a properly installed saddle-specifically one that offers adjustability-can transform your riding experience by accommodating the ever-changing demands of different disciplines, body states, and performance goals.
The Historical Fallacy of "Set and Forget"
The traditional saddle installation process emerged from a time when saddles were rigid, single-piece structures. Cyclists were expected to adapt to the saddle, not the other way around. This mindset persists in most installation guides today, which assume that once you find the "perfect" position, it remains correct indefinitely.
This approach ignores three critical realities:
- Anatomical variation between disciplines. A road cyclist's pelvis rotates forward approximately 30 to 40 degrees more than a mountain biker's. A saddle installed for an aggressive aero position will create pressure points during an upright recovery ride, and vice versa.
- Temporal changes in rider physiology. Over the course of a long ride, muscles fatigue, flexibility changes, and the pelvis can shift position. A saddle that feels perfect at mile 10 may become unbearable at mile 80.
- Individual asymmetry. Most riders have subtle leg length discrepancies or pelvic imbalances that a static saddle cannot accommodate.
The solution lies not in finding the single "correct" position, but in understanding how to adjust the saddle dynamically to match the rider's needs across different contexts. This is where Bisaddle's adjustable design philosophy becomes revolutionary-not because it eliminates the need for proper installation, but because it makes installation an ongoing, responsive process rather than a one-time event.
The Biomechanical Foundation of Saddle Installation
Before discussing installation steps, we must establish the biomechanical principles that govern saddle-rider interaction. These principles apply regardless of saddle design, but they become more actionable with an adjustable platform.
The Three-Point Pressure System
The human pelvis contacts the saddle at three primary points: the two ischial tuberosities (sit bones) and the pubic symphysis (or, in a forward-leaning position, the perineal region). A properly installed saddle distributes weight across these points in a ratio that varies by discipline:
- Upright position (commuting, casual riding): Approximately 60 percent sit bones, 40 percent pubic area
- Moderate forward lean (endurance road, gravel): Approximately 50 percent sit bones, 50 percent perineal region
- Aggressive aero position (time trial, triathlon): Approximately 30 percent sit bones, 70 percent forward region
Traditional saddles force the rider into a single distribution ratio. An adjustable saddle like Bisaddle allows the rider to shift this ratio by modifying width, nose length, and tilt-effectively creating multiple saddles in one.
The Sit Bone Width Variable
Sit bone spacing varies significantly between individuals, typically ranging from 100 to 175 millimeters for men, and can change with pelvic rotation. When the pelvis tilts forward, the sit bones rotate outward, effectively increasing the required saddle width by 10 to 20 millimeters. This explains why a saddle that fits well in an upright position becomes uncomfortable when the rider drops into an aero tuck.
Bisaddle's adjustable width mechanism addresses this directly. By allowing the rider to widen the saddle when shifting to a more aggressive position, the sit bones remain properly supported, preventing the "bottoming out" that causes soft tissue compression.
The Nose Length Paradox
Long noses on traditional saddles serve a historical purpose-they provide a reference point for the rider's position and allow for forward weight shifts during climbing or sprinting. However, they also create a lever that can press into the perineum when the rider rotates forward.
The ideal nose length varies by rider and discipline. A time trialist may prefer a very short or absent nose to eliminate perineal pressure entirely, while a gravel rider might want enough nose to provide stability during technical descents. Bisaddle's adjustable front section allows the rider to shorten the effective nose length for aggressive positions and extend it when more forward support is needed.
The Adaptive Installation Protocol
This protocol differs from standard guides by treating installation as a multi-phase process that evolves with the rider's needs. It assumes the use of an adjustable saddle like Bisaddle, but the principles apply to any saddle that offers width, tilt, or fore-aft adjustability.
Phase 1: Baseline Measurement
Before making any adjustments, establish your baseline geometry.
- Measure sit bone width. Sit on a piece of corrugated cardboard or memory foam for 30 seconds. The indentations left by your sit bones should be approximately 70 to 100 millimeters apart for most men. Measure center-to-center of these impressions.
- Determine your primary riding position. Record the angle of your torso relative to horizontal when you are in your most common riding posture. Use a smartphone inclinometer app or a goniometer. This angle determines your initial saddle width and nose configuration.
- Assess flexibility. Perform a seated forward bend test. If you can touch your toes with straight legs, you have high hip flexibility and can tolerate a more forward-rotated pelvis. If you cannot, you will need a more upright saddle position.
Phase 2: Initial Installation
With your baseline data, set up the saddle for your primary discipline.
For endurance road cycling (torso angle 30 to 45 degrees):
- Set saddle width to your sit bone measurement plus 10 millimeters to account for soft tissue compression
- Position the nose at neutral tilt, level with the rear
- Set nose length to approximately 240 millimeters total saddle length
- Ensure the central gap is open 5 to 10 millimeters to allow perineal relief
For time trial or triathlon (torso angle 15 to 25 degrees):
- Widen the saddle by an additional 15 to 20 millimeters beyond sit bone width
- Tilt the nose down 1 to 2 degrees to reduce perineal pressure
- Shorten the nose to 200 millimeters or less-Bisaddle's split design allows near-noseless configuration
- Open the central gap to 10 to 15 millimeters
For gravel or adventure riding (torso angle 35 to 50 degrees, variable):
- Set width at sit bone measurement plus 15 millimeters to accommodate movement over rough terrain
- Keep the nose level or tilted up 0.5 degrees for stability during descents
- Maintain moderate nose length of 220 to 240 millimeters for forward weight shifts
- Open central gap 5 to 8 millimeters
Phase 3: Dynamic Adjustment During Rides
This is where the adaptive approach diverges from traditional installation. Rather than setting the saddle once, treat the first 500 miles as a calibration period.
During the first 50 miles:
- Stop every 10 miles and assess pressure points
- If you feel numbness in the perineum, widen the saddle by 5 millimeters or tilt the nose down 0.5 degrees
- If you feel sit bone pain, narrow the saddle by 5 millimeters or add 1 degree of nose-up tilt
- If you feel instability, such as sliding forward, extend the nose by 10 millimeters or tilt the nose up 1 degree
After 200 miles:
- Your body will have adapted to the baseline position
- Experiment with discipline-specific configurations
- For a climbing-heavy ride: narrow the saddle slightly and tilt the nose up 1 degree
- For a flat, aero ride: widen the saddle and tilt the nose down 1 degree