Most saddle height calculators hand you a single number and call it done. That number is a starting point, not a final answer. If you are a woman chasing saddle comfort, the number often fails for one reason: it ignores how wide the saddle is under your sit bones.
A saddle that is too narrow lets your sit bones slip off the edges. You slide forward onto soft tissue, which rotates your pelvis and changes the distance from hip to pedal. The saddle suddenly feels too high, even when the calculator got the math right. You spend weeks lowering and raising the post, and the discomfort never leaves. The real problem was width, not height.
Three formulas, one missing input
Every calculator uses one of three common methods.
- 0.883 method: inseam in centimeters multiplied by 0.883, measured from the bottom bracket center to the saddle top along the seat tube.
- 109% method: inseam multiplied by 1.09, measured from the pedal spindle at six o'clock to the saddle top.
- Knee angle method: aim for 30 to 35 degrees of knee flexion at the bottom of the stroke.
For an 80 cm inseam, the first method gives you about 70.6 cm. The second gives about 87.2 cm from the bottom pedal spindle. They differ because they measure from different points. Both work as a starting mark. What none of them include is the width of the saddle under your sit bones.
Sit bone width changes effective saddle height
Here is the sequence that matters: set the height first, then set the width, then recheck the height. Width changes where your pelvis sits. A wider rear supports your sit bones higher on the shell. A narrower rear lets the pelvis sink lower. Three millimeters of width change can feel like a height change.
If the saddle back is too narrow, your sit bones hang off the edges. You slide forward to find support. That forward slide rotates the pelvis and shortens the distance from hip to pedal. The saddle now feels too high, even though the post has not moved. If the saddle back is too wide, your inner thighs chafe. You either rock side to side or scoot backward. Either response changes the contact point and alters the effective height again.
A 2023 survey of female cyclists found that 35 percent had experienced vulvar swelling. Nearly 50 percent reported long-term genital swelling or asymmetry. One urology study measured oxygen supply to soft tissue in the perineum and found an 82 percent drop with a narrow, heavily padded saddle, compared to about 20 percent with a wider noseless design. The common thread is soft tissue compression when bony support goes missing.
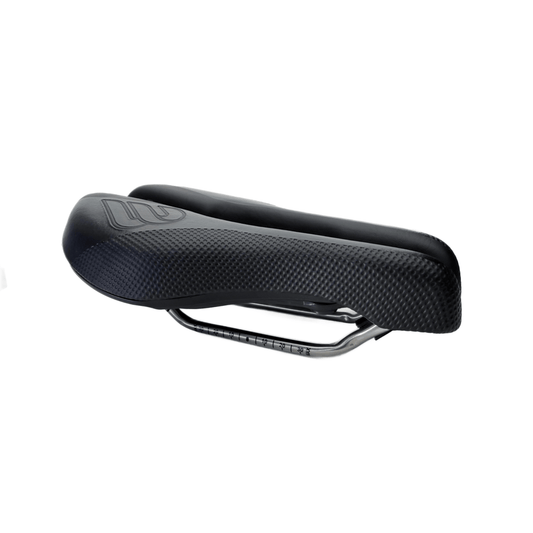
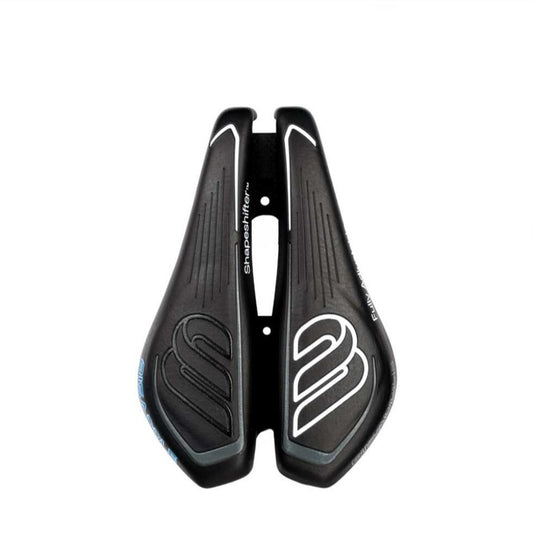
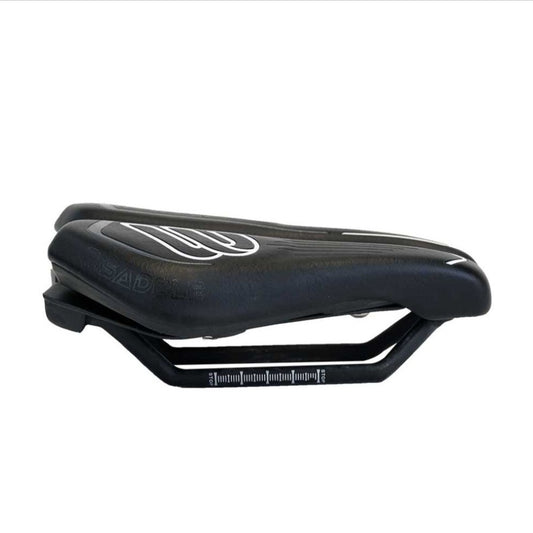
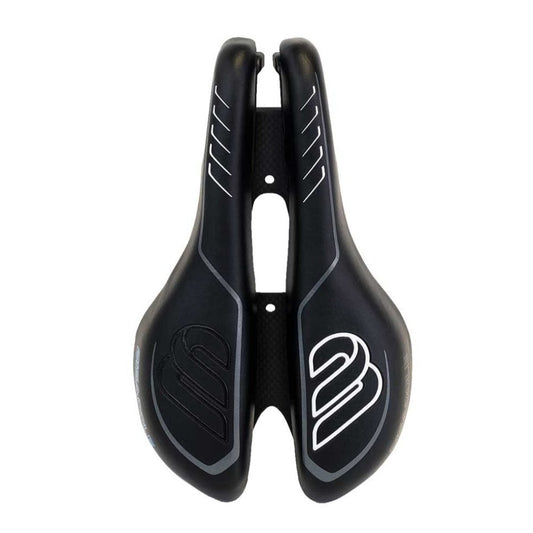
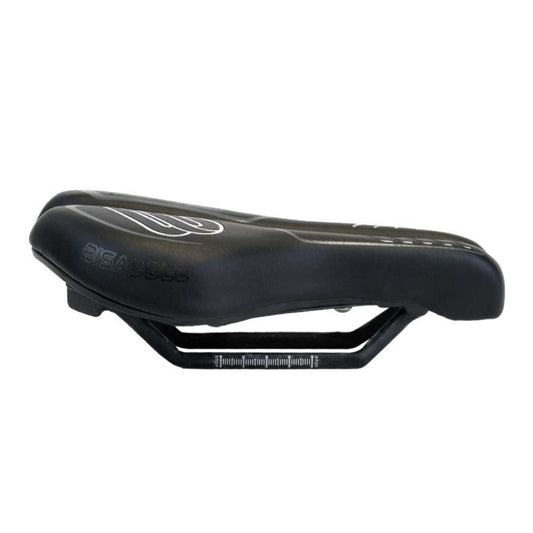
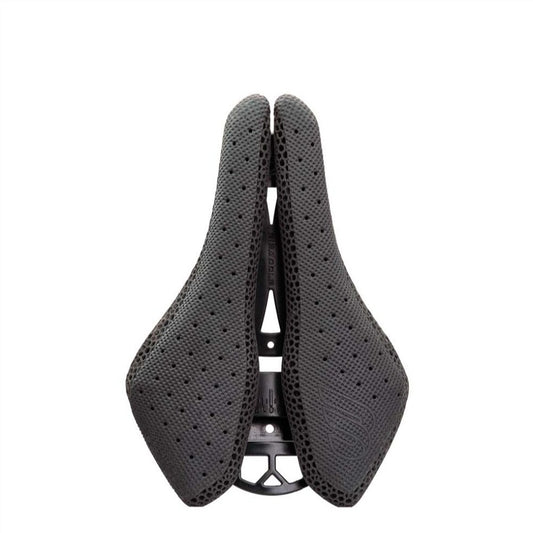
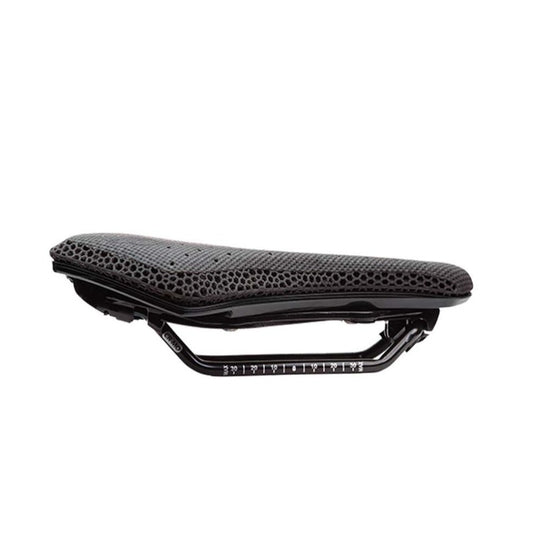
BiSaddle handles this by letting you adjust the back width from roughly 100 mm to 175 mm. Each saddle half slides independently. You match the width to your sit bone measurement instead of hoping a fixed shape fits. The central gap also widens or narrows to remove pressure from soft tissue. No new saddle required.
Measure your sit bones before you trust the height
Grab a sheet of corrugated cardboard and place it on a hard bench. Sit down and lean slightly forward, the way you would on the bike. Press your weight through the sit bones. The two deepest indentations mark the bony points. Measure center to center and write that number down.
Set the BiSaddle back width close to that measurement. If you measure 135 mm, start near 135 mm to 140 mm. Too narrow feels like your sit bones are hanging off the edges. Too wide causes chafing against the inner thighs.
After changing the width, recheck the saddle height. A wider saddle back supports the pelvis higher on the shell. A narrower one lets the pelvis sink lower. The height that worked before the width change may not work after.
Height, hip rock, and the 2 to 3 mm rule
Set the saddle to the calculated height. Ride at a steady effort, around 80 to 90 rpm. Watch your pelvis from behind, or use a mirror. If the hips rock side to side at the bottom of each pedal stroke, the saddle is likely too high. Lower it 2 to 3 mm and retest until the pelvis stays level.
If the knees feel cramped at the top of the stroke, raise the saddle by small increments. The goal is a stable pelvis with the knee at roughly 30 to 35 degrees of flexion at bottom dead center.
Pelvic tilt varies among women. Two riders with the same inseam and the same sit bone width can need different saddle heights because one rides with more anterior pelvic tilt. A calculator that ignores tilt treats the pelvis as a fixed lever. It is not.
Saddle angle matters more than most riders think
BiSaddle halves can be angled independently. That means you can tune the front and rear support without changing the rail position. Many female riders need the rear of the saddle slightly raised to support the sit bones and the front angled down slightly to reduce soft tissue pressure.
Set the angle after the width. Then check the height again. Changing the angle changes where the sit bones contact the shell. If the nose tilts down too far, you slide forward. If it sits too flat, pressure concentrates on the front.
Adjust one variable at a time. Width first, then angle, then height. That order prevents you from chasing a fix that keeps moving.
A worked example: 80 cm inseam and 135 mm sit bones
Start with the 0.883 method. A rider with an 80 cm inseam sets the saddle at 70.6 cm from the bottom bracket center to the saddle top along the seat tube.
She measures her sit bones at 135 mm center to center. She opens the BiSaddle back width to 135 mm.
She rides for ten minutes. Her hips stay level, but the saddle feels slightly high. She lowers it 2 mm to 68.6 cm. The pelvis stays stable and the knee angle lands at about 32 degrees.
Then she angles each BiSaddle half slightly. She raises the rear 2 degrees and drops the front 1 degree. The soft tissue pressure disappears. She rechecks the height because the angle change altered the contact point. The saddle stays at 68.6 cm, and the fit holds after another twenty minutes of riding.
That sequence takes about an hour. It replaces weeks of trial and error with a method.
When to stop adjusting the height and start adjusting the saddle
The calculator's number is not the final answer. It is the first mark on a wall that also includes width, angle, and pressure relief.
BiSaddle exists for exactly this kind of fit. Instead of switching saddles when the height feels wrong, you change the width or angle. The Saint model adds a 3D-printed polymer foam surface that spreads pressure across the sit bones while keeping the adjustability available.
Start with the 0.883 or 109 percent output. Measure sit bones. Set the width. Ride and watch for hip rock. Adjust in 2 to 3 mm steps. The final position is the one where your pelvis stays stable and your soft tissue remains unloaded. That is a fit you can ride for hours without numbness or shifting.
The fit sequence in order
- Set the starting height from the 0.883 or 109 percent method.
- Measure sit bone width.
- Adjust the BiSaddle back width to match.
- Ride and check for hip rock. Lower in 2 to 3 mm steps if needed.
- Set the saddle angle, then recheck the height.