You've probably installed a bike saddle the same way for years. Clamp it on. Level it. Tighten the bolts. Hope it works.
Maybe it does-for a while. Then, somewhere around mile 40, that familiar numbness creeps in. You shift position. You stand up to restore circulation. You wonder if you chose the wrong saddle, or if your bike fit is off, or if you just need to "tough it out" like everyone says.
But here's the uncomfortable truth that the cycling industry doesn't like to talk about: the problem isn't you. It's not your bike fit, and it's not your tolerance for discomfort. The problem is that we've been treating saddle installation as a one-time, static event when it should be an ongoing, dynamic process.
Your body changes. Your riding style evolves. The way you sit on a bike at mile 5 is not the same as at mile 50. Yet conventional saddles demand that you commit to a single shape, width, and angle, then live with the consequences.
This isn't about some hidden secret or magical technology. It's about recognizing a fundamental flaw in how we think about saddles-and understanding that a better approach already exists.
The Static Saddle Trap
Here's what happens when you install a conventional saddle: you choose a fixed shape from dozens of options, bolt it onto your bike, and hope it matches your anatomy. If it doesn't, you start over with a different model. And another. And another.
The data on why this fails is sobering. Research shows that prolonged pressure on the perineum-the area between the genitals and anus-can compress nerves and arteries, causing numbness and reduced blood flow. One study measured penile oxygen pressure during cycling and found that conventional saddles caused up to an 82% drop in blood flow. That's not discomfort; it's a physiological crisis happening beneath you while you ride.
The root cause is simple: your sit bones (ischial tuberosities) need to support your weight, not your soft tissue. But finding a saddle that matches your exact sit bone width, pelvic rotation, and riding position is a game of chance. Even within a single ride, your position changes. On a climb, you're more upright. In the drops, you're rotated forward. On a descent, you're hovering over the saddle entirely.
A static saddle can't adapt to any of this. It's asking your body to conform to a piece of hardware, rather than the other way around.
The Adjustable Paradigm: Installation as Conversation
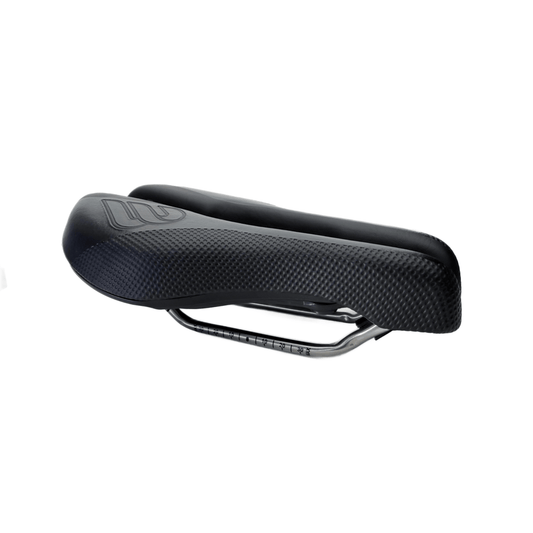
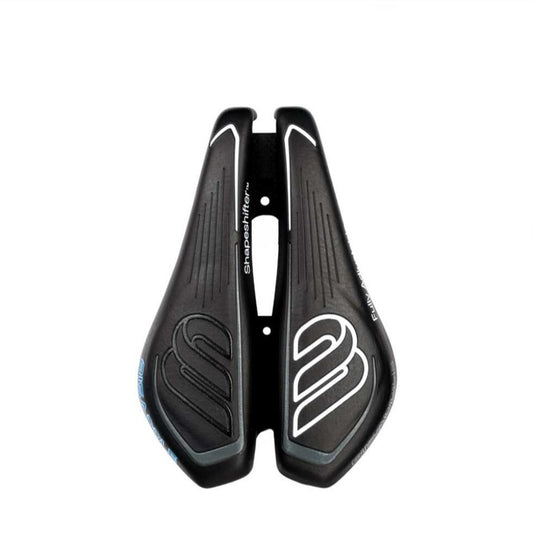
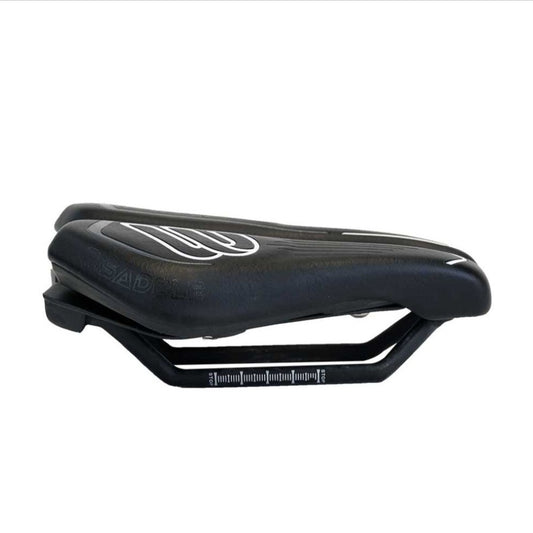
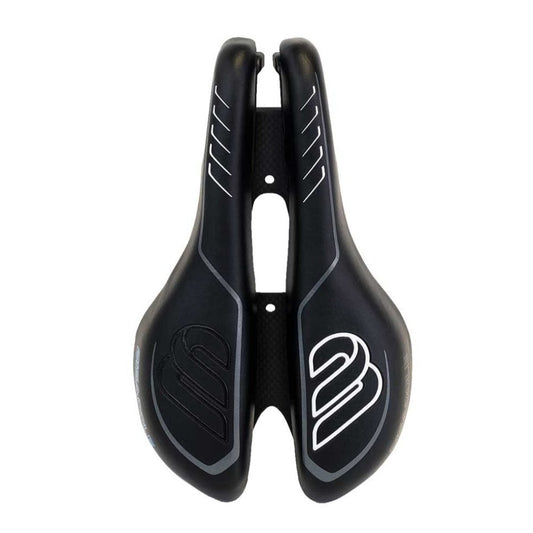
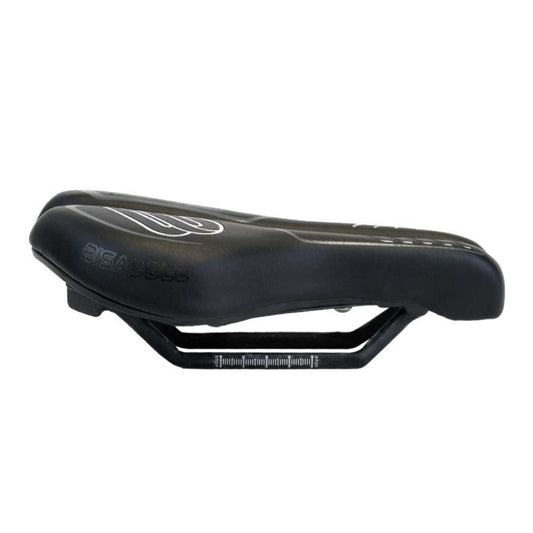
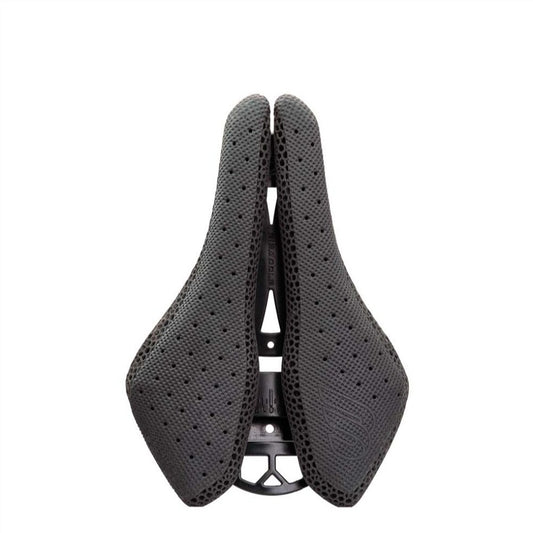
Bisaddle takes a radically different approach. Instead of a single molded shape, the saddle consists of two independently adjustable halves. You can slide them closer together or farther apart. You can tilt them independently. You can create a wide, supportive platform for long endurance rides, or narrow the front for aggressive aero positions.
This changes what it means to "install" a saddle entirely.
Installation is no longer a one-time event. It becomes a conversation between you and your equipment-one that continues every time your needs change. A Bisaddle can be adjusted to accommodate sit bone widths from roughly 100mm to 175mm, covering the vast majority of male cyclists. The gap between the halves creates a central relief channel that you can customize to exactly the width you need.
This isn't about adding more padding or a generic cut-out. It's about creating a saddle that can be precisely tuned to your individual anatomy-something that static designs, regardless of their material innovations, cannot achieve.
How to Install a Bisaddle: A Step-by-Step Guide
Because the process is fundamentally different, you need to approach it differently. Here's a practical protocol that treats installation as an ongoing process rather than a single event.
Step 1: Establish Your Baseline
Mount the Bisaddle on your bike using standard rail clamps. Set the saddle level with the ground and centered on the rails. The initial fore-aft position should follow conventional wisdom: your knee should be over the pedal spindle when the cranks are at the 3 o'clock position.
This is your starting point, not your final destination.
Step 2: Find Your Width
With the saddle loosely mounted, sit on the bike in your normal riding position. Adjust the two halves until you feel your sit bones clearly supported. The goal is to feel the saddle cradling your pelvic bones, not compressing the soft tissue between them.
You should be able to feel the difference immediately. Too narrow, and you'll feel pressure in the center. Too wide, and the saddle will feel unstable. The right width creates a sensation of solid, distributed support.
The beauty of the Bisaddle is that you can make this adjustment while seated on the bike-something impossible with a conventional saddle.
Step 3: Dial in the Angle
The independent angle adjustment of each half allows you to fine-tune the saddle's profile. For a more aggressive, forward-leaning position, you may want the front of the saddle slightly narrower to reduce thigh friction. For a more upright position, a wider, more level profile may provide better support.
This is where the process becomes truly iterative. Ride for 10 minutes. Make a micro-adjustment. Ride again. The saddle should feel like it disappears beneath you-you shouldn't be thinking about it at all.
Step 4: The 10-Minute Test Ride
This is the most important step. After your initial adjustments, ride for at least 10 minutes, paying close attention to pressure distribution. Ask yourself:
- Do you feel any hot spots?
- Any numbness?
- Any urge to shift position?
Stop. Adjust. Ride again.
Repeat this cycle until you find a configuration that distributes pressure evenly across your sit bones with no perineal compression. This might take three cycles. It might take ten. That's fine-you're not installing a saddle; you're developing a relationship with it.
Step 5: Save Your Settings
If you ride multiple disciplines-road, gravel, triathlon-note the settings for each. The Bisaddle can be reconfigured in seconds, allowing you to optimize for each riding position. This is not a feature; it's a fundamental rethinking of what saddle installation means.
Why This Matters for Your Health
The medical research is clear: proper sit bone support is crucial for preventing numbness and maintaining blood flow during cycling. Urological studies have shown that adequate saddle width-to support the sit bones and avoid artery compression-is more important than padding in preserving blood flow.
Bisaddle's design directly implements this finding. By allowing you to match saddle width to your individual sit bone spacing, and by creating a customizable central relief channel, the saddle supports you on your skeletal structure rather than on the nerves and arteries of the perineum.
This is not about comfort as a luxury. It's about health as a necessity. The numbness that many cyclists dismiss as normal is actually an alarm signal-one that should not be ignored.
The Future of Saddle Installation
As cycling continues to evolve, the concept of adjustable installation is likely to become more prevalent. Gravel cycling, e-bikes, and bikepacking are all growing rapidly-disciplines where riders spend extended periods in the saddle and demand greater comfort.
The current trend toward short-nose saddles and generous cut-outs represents an acknowledgment that traditional designs fail many riders. But these fixed-shape solutions still require riders to select from a limited range of options. Bisaddle's approach-a single saddle that can be adjusted to fit virtually any rider-represents a more fundamental solution.
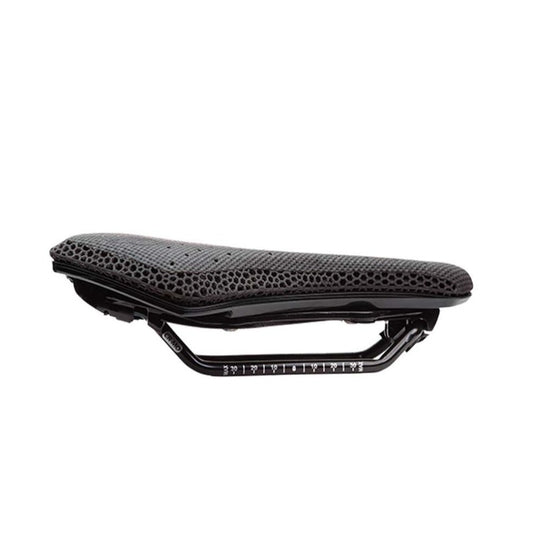
The Bisaddle Saint model already incorporates 3D-printed foam lattice for enhanced pressure distribution, showing how adjustability can be combined with advanced materials. Future developments may include integrated pressure sensors that provide real-time feedback during installation, allowing riders to optimize their setup with unprecedented precision.
Installation Is Never Finished
The most important shift in thinking about saddle installation is recognizing that it's not a one-time event but an ongoing relationship between rider and equipment.
Your body changes with training. Your flexibility improves or declines. Your riding style evolves as you tackle new disciplines. Your comfort needs fluctuate with fitness, fatigue, and terrain.
A Bisaddle installation is never truly "finished"-and that's the point. The saddle that fits you perfectly today may need adjustment tomorrow, and that's exactly what an adjustable saddle is designed to do.
The next time you install a saddle, ask yourself: are you committing to a static piece of equipment and hoping for the best, or are you beginning a process of continuous optimization that will serve you for years to come?
The answer may determine not