Every spring, the same ritual shows up on cycling forums. A guy sits on a flattened cardboard box, circles the two deepest dents with a marker, measures the centers, and then buys a saddle exactly that wide. The method feels scientific. It produces a number. The problem is that the number comes from one static, upright posture.
Your sit bones don't move much relative to each other, but your pelvis rotates forward as soon as you reach for the bars. Soft tissue compresses. The pressure map slides toward different anatomy. A width that feels perfect while sitting upright on a kitchen chair can press into the wrong places after thirty minutes in the drops.
Pelvic Rotation Changes the Pressure Map
When you shift from an upright position to the hoods, your pelvis rolls forward. The load that was on the ischial tuberosities moves toward the pubic symphysis and the surrounding soft tissue. In a time trial position, that forward rotation gets more aggressive. The front of the saddle carries weight the rear section handled before.
A 2002 urology study measured penile oxygen pressure while men sat on different saddle shapes. A narrow conventional saddle produced an 82 percent drop. A wider noseless design limited the drop to 20 percent. The difference came from width and the absence of a nose pressing into the perineum, not from padding.
Gravel riders add vibration and frequent weight shifts to that equation. Seated climbs load the rear of the saddle. Descents push you forward. Mountain bikers shift between sitting and standing all ride. Every change alters the effective contact patch. A fixed width from an upright imprint cannot follow those shifts.
Why a Fixed Width Fails
A fixed-width saddle asks you to commit to one number. Measure 120 millimeters at home, buy that width, and hope your body agrees in every position. When you switch disciplines or lower your handlebar, the saddle no longer matches the anatomy it was chosen for. Soft tissue pressure builds. Numbness arrives. You can either buy another saddle or ride through the discomfort.
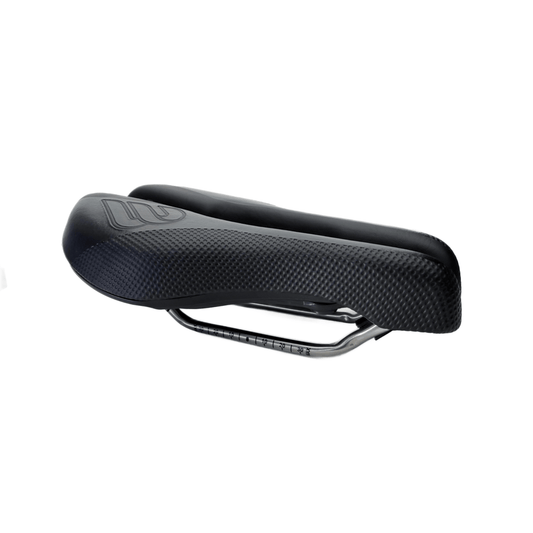
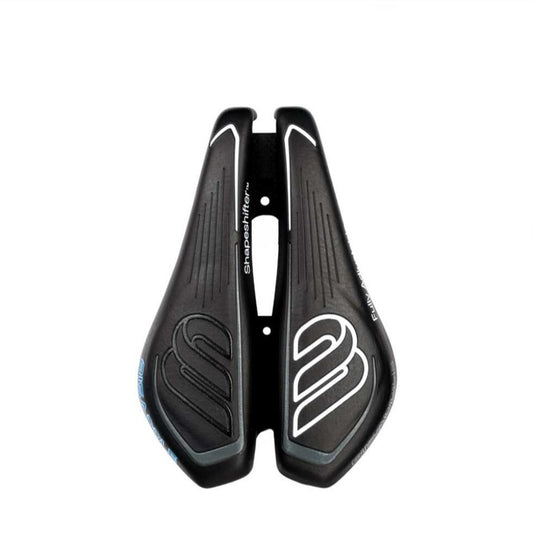
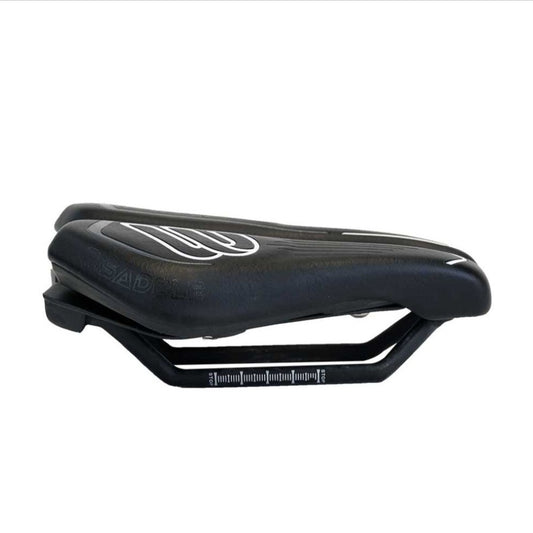
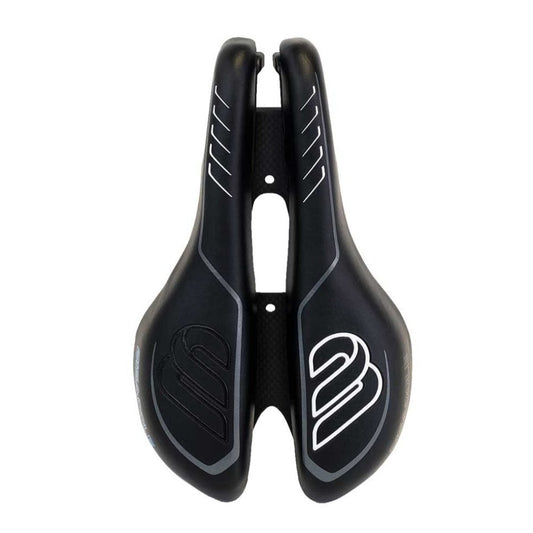
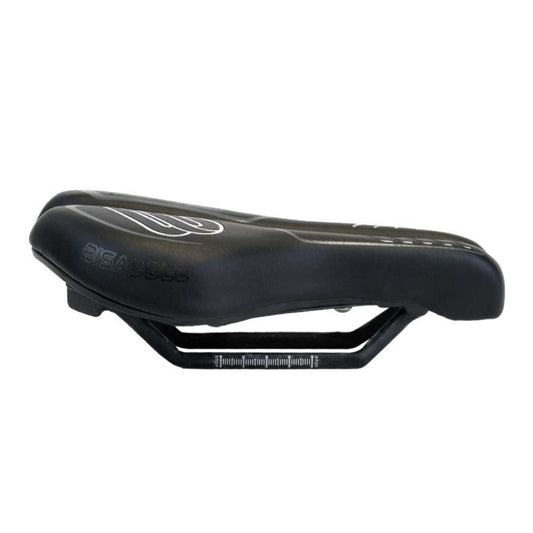
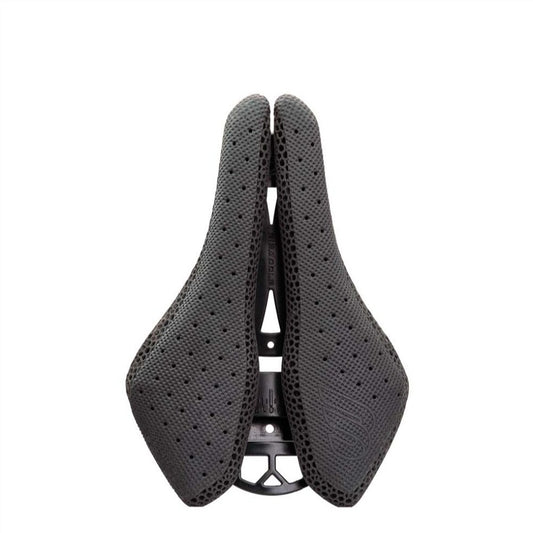
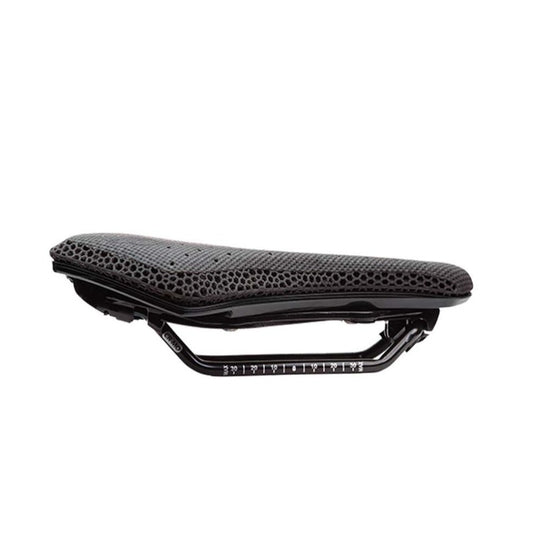
Bisaddle solves this with a mechanical adjuster. The rear width adjusts from 100 to 175 millimeters. Each half angles independently, which also changes the profile curvature. The split platform creates a central gap that widens or narrows as the halves move. You set a starting width and fine-tune it after riding. If your position changes later, you adjust again. One platform handles road, triathlon, gravel, and indoor training without a new purchase.
How to Use Your Baseline the Right Way
The kitchen table number is still useful. It gets you onto the saddle in the right neighborhood. But the final measurement happens on the bike, under pedaling load, in your actual riding posture. Here is the sequence that works.
- Set the Bisaddle rear width to your measured sit bone distance as a first guess.
- Set saddle angle and fore-aft position from your usual bike fit.
- Ride for at least an hour in your main discipline, with warm-up and several hard efforts included.
- Notice where your sit bones sit on the rear shelf and whether perineal pressure builds.
- Widen the rear in small steps if numbness or soft tissue pressure appears. Narrow it if the wings rub your inner thighs.
- Ride again after each change until you stop shifting around to relieve pressure.
When you later try a different discipline, repeat the list. A road position might need a slightly different setting than a triathlon position. The saddle adapts instead of forcing your body to adapt.
The Saddle Becomes the Measuring Tool
Cardboard gives you a coordinate. The ride gives you the destination. Men who treat a static sit bone measurement as final are solving the wrong problem, because the problem changes the moment the pelvis tips forward.
Bisaddle turns the saddle itself into the instrument. You adjust based on real pedaling load, real postures, and real time in the saddle. That dataset beats any cardboard imprint. It keeps the fit moving with you instead of locking you into one upright measurement.
Measure once to get on the bike. Then let the saddle do the rest.