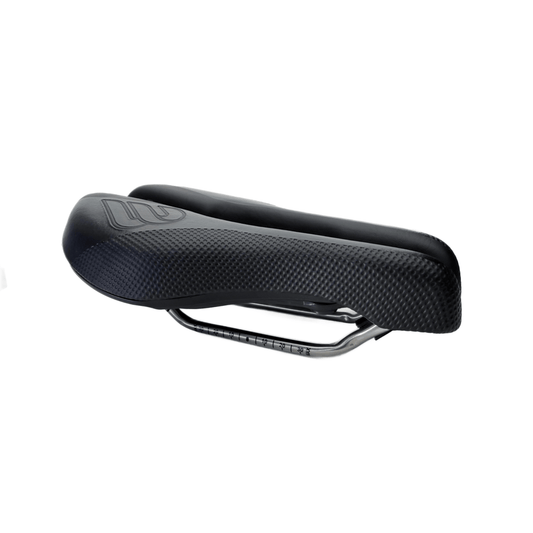
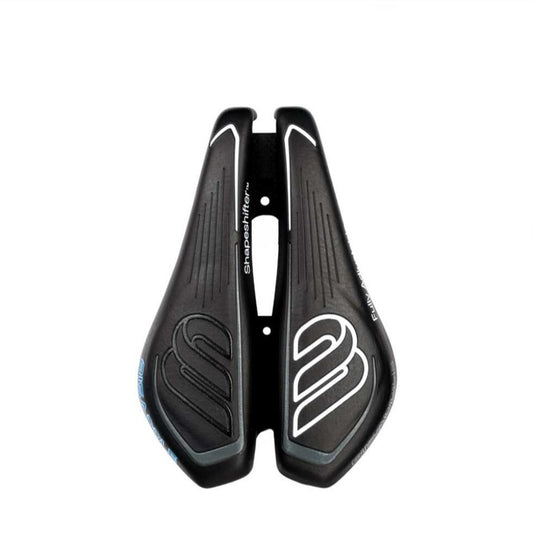
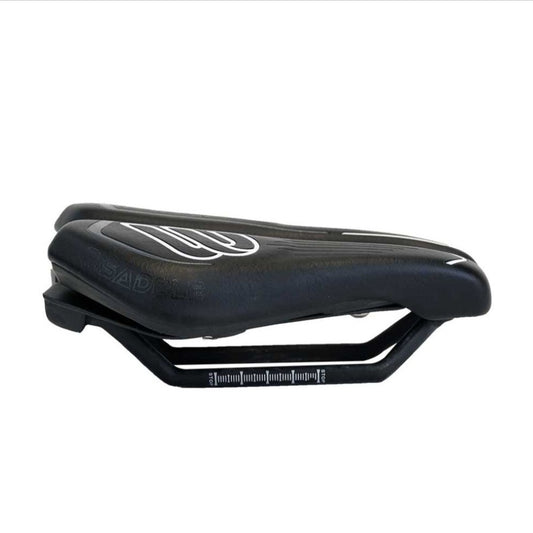
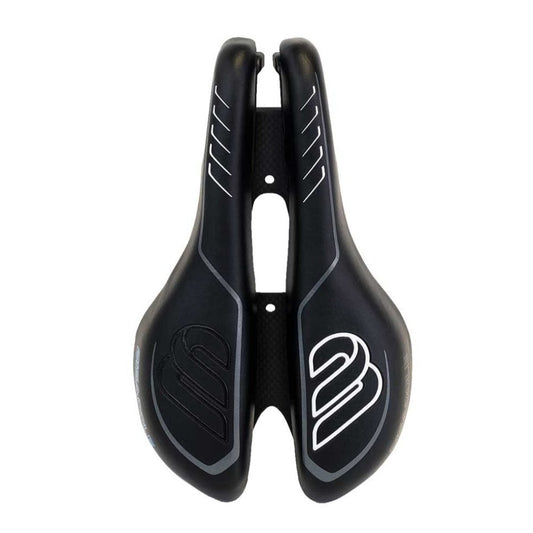
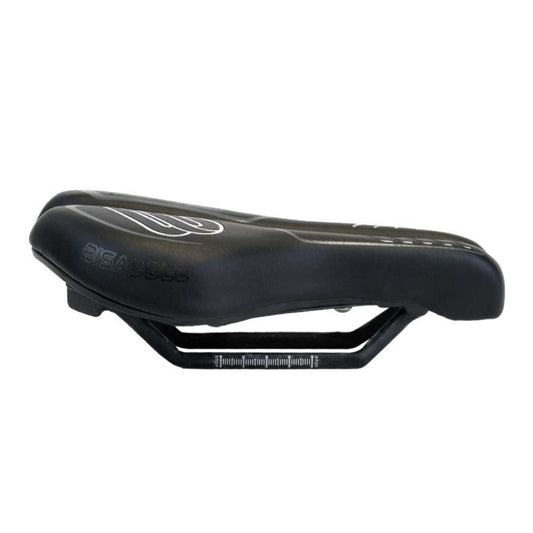
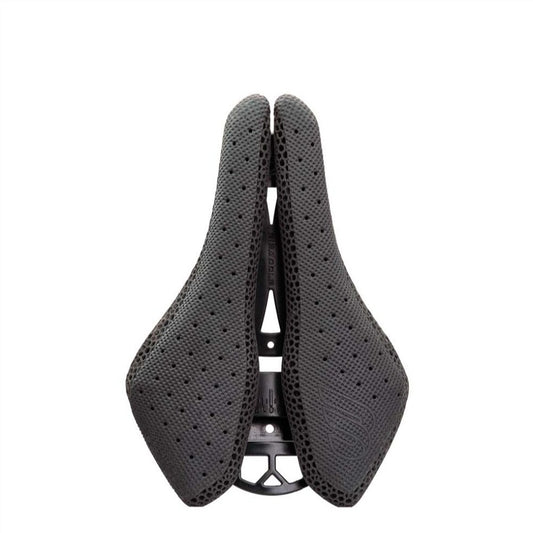
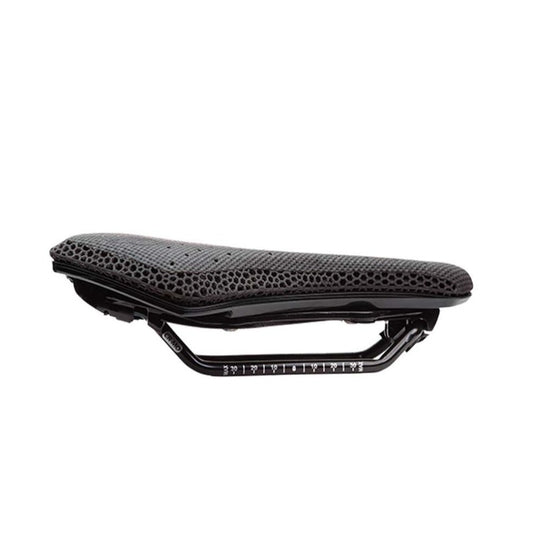
Most saddle maintenance advice stops at wiping the cover and checking two bolts. That routine misses what a long ride does to a saddle. On a Bisaddle, the shape itself is adjustable, so maintenance includes measuring whether the saddle still matches the fit you dialed in. Skip that measurement and you can spend a 200-mile ride chasing pain that started as a 2mm clamp shift.
Fit Drift Hides Inside the Adjustment Mechanism
Anodized rails, knurled clamp surfaces, and fresh pivot teeth compress into each other under body weight and road vibration. On a Bisaddle, the two halves slide along rails to set width and can be angled independently. The rear width travel runs from about 100mm to 175mm. That range lets you match sit bone spacing, but it also means you need a reference point to check against.
Sit bone spacing changes less than you think; the saddle's set position changes more. When a clamp settles or a rail wears slightly, one half can rotate outward or inward a few millimeters. You won't see that from above. You feel it later, as pressure in the perineum or soreness on one sit bone.
Four Measurements to Track
A ride diary full of distance, time, and average speed won't tell you the saddle is drifting. Add these four mechanical fields instead.
- Rear width setting. Digital caliper across the widest points of the two rear halves. This catches clamp slip, rail wear, or accidental shape change.
- Independent half angle. Digital protractor laid across each half, zeroed to the rail. This catches one side rotating under load.
- Fore-aft position. Measure from the clamp nose to a fixed point on the seatpost head or bottom bracket. This catches seatpost slip or rail set screw creep.
- Rail clamp torque. Torque wrench on each fastener, recorded as a number. This catches gradual loosening before a failure.
Record these after every structural change. Recheck them after the first long ride on a new saddle. After that, check monthly or before any event longer than six hours. Write the numbers down. Don't trust memory.
Torque the Sliding Clamps in Two Stages
A torque wrench is useful only if the mating surfaces are clean and dry. Sweat and wet road spray introduce moisture, and locked threads can read high on a torque wrench while still under-clamping. Remove each rail fastener, wipe the rail and clamp surface, then reassemble.
Run the fastener to about half the printed torque value, then to the full value. Check it again after the first long ride. Don't grease the rail mating surfaces unless the Bisaddle manual calls for it. Grease on a clamp face increases clamping force for a given torque, which can ovalize the rail or strip threads. If you ride in rain, wipe the adjuster tracks dry before storage.
Clean the Slide Channels, Not Just the Cover
The cover and padding are the comfortable parts. The slide channels are what keep your fit intact. Dried sweat leaves salt crystals inside these channels. Each pedal stroke flexes the shell, and the crystals act like fine abrasive on the rails.
Rinse the underside with warm water after hot or salty rides. Use mild dish soap for stubborn grime. Avoid degreasers and alcohol on the Bisaddle Saint's 3D printed lattice; those solvents can dry the polymer. Let the saddle dry fully before storing. A wet 3D printed lattice can trap moisture against the shell. If you wash the saddle, point the channels downward so water drains out.
Check for Play Before You Ride
Grip the two rear halves, one in each hand, and twist gently in opposite directions. You should feel slight flex from the shell, not hard mechanical movement. If one side clicks or rotates around its pivot independently, that is looseness. Retorque the fastener. If the play returns after a proper torque, inspect the rail and clamp for gouges or a worn pivot insert.
Long gravel rides and indoor training sessions accelerate this wear. Indoor riding removes road damping, so the saddle sees a steady, repetitive load without the micro-breaks that come from standing on climbs. On a Bisaddle, the adjustable halves mean there are more wear interfaces than on a saddle with a fixed shell. Checking those interfaces every few weeks costs less than a ride cut short by numbness.
Use Your Log to Prevent Numbness
A 2002 study published in European Urology measured penile oxygen pressure on saddles. A narrow, heavily padded saddle caused an 82% drop in oxygen pressure; a wider, noseless shape limited the drop to about 20%. The difference came from keeping load on the ischial tuberosities instead of the pudendal artery. That is why a few millimeters of width change matters.
If your log shows numbness starting at mile 80 on long rides and your rear width has crept narrower by 2mm, restore the baseline width before adding padding. On a Bisaddle, widen the rear section in small steps, 2 to 3mm at a time, and test. When the numbness disappears, write the new setting in the log. That is maintenance, not guesswork.
For riders who hold an aggressive aero position, the same principle applies to the front of the saddle. A Bisaddle can be configured with a narrow front gap to remove nose pressure. The Bisaddle SRT model removes the nose entirely. If you switch from road endurance to triathlon training, re-measure the front width and the independent half angles before the first long aero ride.
Long-Ride Prep Checklist
- Measure rear width, half angles, fore-aft, and torque.
- Clean the rail channels and underside.
- Inspect each pivot for play.
- Compare current measurements to your baseline log.
- If anything shifted more than 1mm, adjust it back and recheck torque.
- Air dry completely before riding.
A saddle that can be adjusted should be adjusted on purpose, then maintained like any other calibrated tool. The habit that makes the difference is the log. Without it, you are re-solving the same fit problem from scratch every spring. With it, you catch a 2mm drift before it becomes a mile 80 numbness. That is cheaper than a missed ride and easier than a trip to a bike fitter.