Most “how to store your saddle” advice is well-meaning, but it’s usually written as if a saddle is just a padded perch. In reality, a good women’s saddle is a tuned contact surface. If you’ve ever nailed a setup—where sit bone support feels solid, soft-tissue pressure stays calm, and your shorts aren’t getting chewed up—then storage isn’t about avoiding obvious damage. It’s about keeping that feel.
Here’s the under-discussed angle: saddles don’t just wear out from riding. They can slowly change while they sit. Heat, humidity, sweat residue, and even the way a saddle rests on a hook can subtly shift shape, surface friction, and hardware function. The result is that annoying springtime moment when nothing looks wrong, but the saddle suddenly feels “off.”
The goal isn’t preservation—it’s fit retention
A women’s saddle (or a saddle chosen because it works better for female anatomy) is often doing a few specific jobs at once: supporting the sit bones at the right width, reducing unwanted pressure through a relief zone, and providing a stable surface that doesn’t encourage sliding. Those details matter because long rides can punish small problems—pressure that creeps forward, friction that increases, or a surface that gets too slick.
So the storage target is simple: keep the saddle’s shape, surface, and hardware as close to “ride-ready” as possible.
The quiet enemy: static load and compression set
If there’s one storage mistake I see constantly, it’s this: the saddle spends months with something pressing into the top—stacked gear, a wall, a bench, or a narrow hook that digs into the nose. Foam and elastomer materials can take a compression set under constant load. It’s rarely dramatic, but it can be enough to alter how your pelvis is supported.
That matters because a tiny loss of support in the rear platform can shift how you sit. And when load drifts away from the bony structures, it tends to find soft tissue instead—exactly what modern relief designs are trying to avoid.
What “no load” actually looks like
- Do: Store the saddle so the rails are supported, not the cover.
- Do: Hang it by the rails if you’re using hooks.
- Don’t: Rest the bike so the saddle is pressed into a wall or shelf edge.
- Don’t: Stack anything on the saddle top, even “light” items.
Microclimate matters: heat, humidity, and sweat salts
Garages, sheds, and vehicles are rough environments for saddle materials. You get temperature spikes, humidity swings, and long periods where sweat residue sits undisturbed. That combination can accelerate aging in foam and cover materials, and it can invite corrosion where rails and fasteners meet clamps.
Sweat is the part people forget. It’s not just water—it’s salts and oils. If that residue dries on the underside near the clamp zone or around seams, it can create a film that attracts grime later, and it can contribute to creaks, slipping, or stubborn hardware.
Where to store it
- Best: Indoors, in a closet or spare room with stable temperature.
- Okay: A garage only if it’s climate-controlled and relatively clean.
- Avoid: Hot vehicles, attics, sheds, or anywhere that bakes in summer.
Surface friction is part of comfort (and storage can change it)
Saddle sores are rarely “just pressure.” They’re usually pressure plus friction plus moisture. The saddle surface plays a bigger role than most riders realize: if it becomes too slick, you can start micro-sliding; if it becomes tacky or contaminated, you can increase shear. Either way, skin gets irritated faster.
Storage can change surface behavior through dust buildup or chemical transfer—like storing the saddle against oily plastics, rubber mats, dirty rags, or aggressive cleaners that leave residues behind.
Simple rules that keep the surface consistent
- Store the saddle clean and fully dry.
- Keep it away from solvents, oily products, and unknown plastic/rubber contact surfaces.
- If you cover it, use a clean, breathable cloth instead of airtight wrapping (unless you’re certain it’s bone-dry).
Special case: adjustable saddles and why photos beat memory
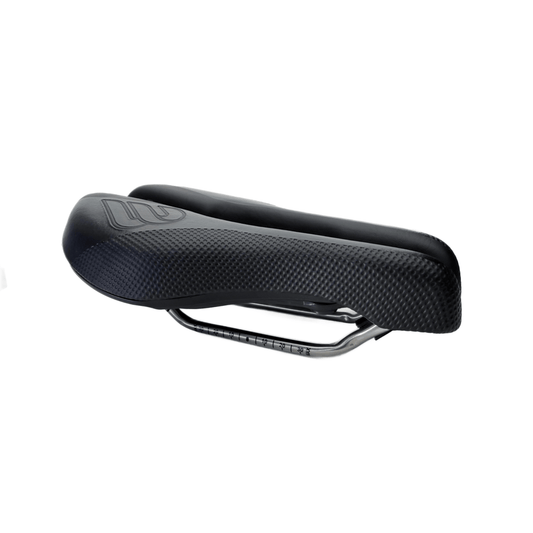
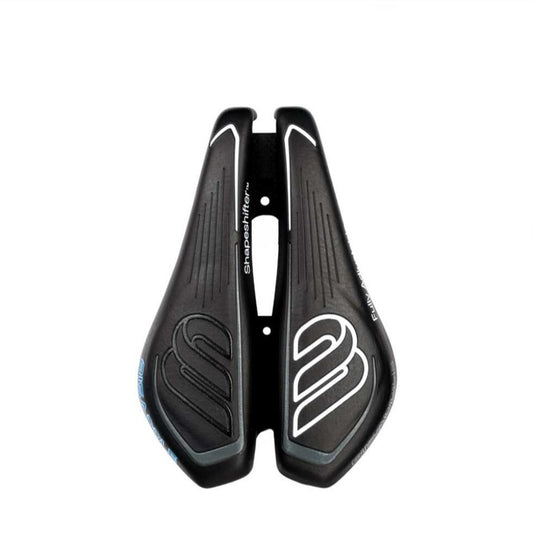
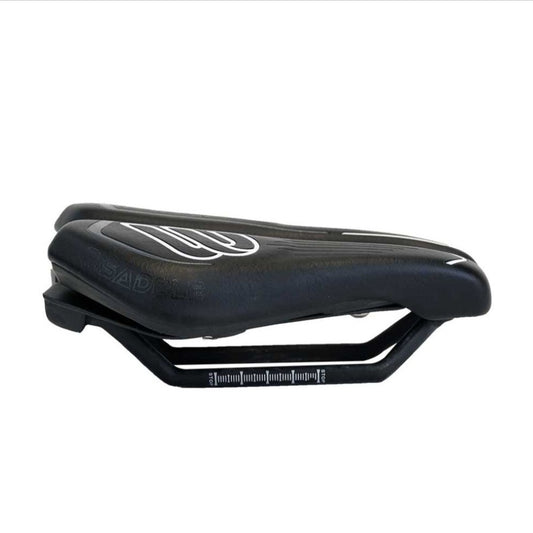
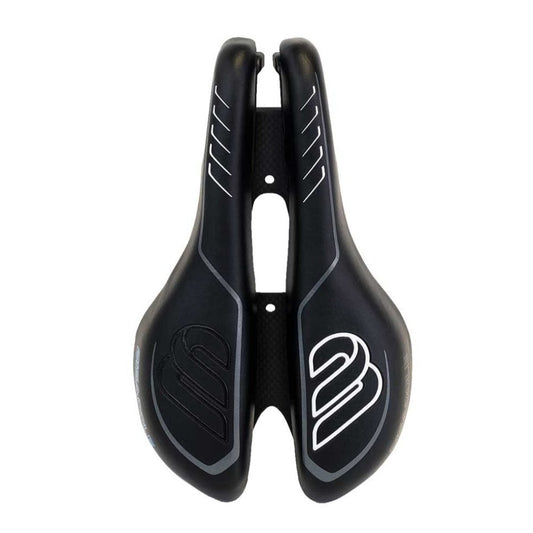
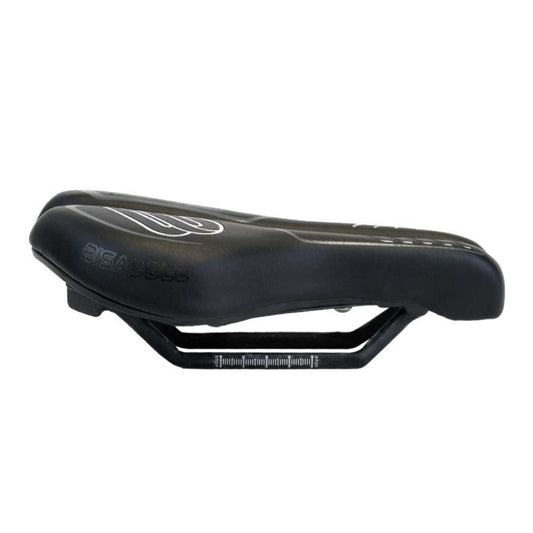
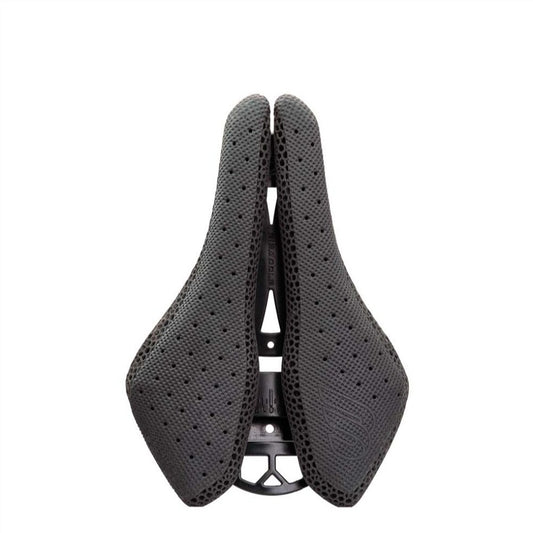
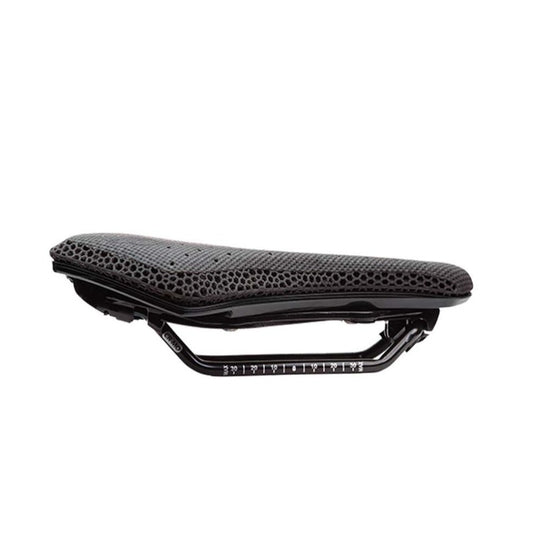
If your saddle is adjustable—like a Bisaddle—storage has one extra step: preserve not just the materials, but the configuration. Adjustable width and profile are powerful tools, but they also mean you can accidentally store the saddle “out of spec” and spend the first few rides re-discovering the setup that worked.
The fix is easy: document your settings once, then store it in the exact configuration you ride.
Two-minute setup insurance
- Take a top-down photo and a side photo (good lighting, clear angle).
- Note a simple reference measurement for width (something you can repeat later).
- Wipe the adjustment zones and hardware-contact areas before putting it away.
The off-season storage protocol (quick, practical, repeatable)
This is the routine I recommend if you’re putting a bike away for weeks or months and you want the saddle to feel the same when you return.
- Wipe down with mild soap and water on a damp cloth (top, sides, and especially the underside near the clamp zone).
- Remove soap film with a clean damp cloth.
- Dry thoroughly, then let it air-dry for a few hours so seams and junctions aren’t holding moisture.
- Store with zero load on the saddle top—rails supported, nothing pressing into the cover.
- Choose a stable space (indoors is the safest bet).
Common storage mistakes (and what they cost you)
- Hot storage (car/attic/shed): faster material aging, surface changes, and potential adhesive creep.
- Nose-down hooks that dent the cover: localized deformation that can become a pressure hot spot.
- Airtight wrapping while damp: trapped moisture, odors, and corrosion risk.
- Harsh cleaners/solvents: altered surface friction and premature cracking or tackiness.
- Ignoring sweat residue on rails and hardware: creaks, clamp slip, or seized fasteners later.
Bottom line: don’t baby it—standardize it
The best storage isn’t precious. It’s consistent. Keep temperature and humidity reasonable, keep weight off the saddle top, keep chemicals away from the cover, and keep hardware clean. Do that and you’re not just protecting the saddle—you’re protecting the fit you worked to achieve.
If you’re storing an adjustable saddle like a Bisaddle, add one more habit: document your settings. A couple photos now is the difference between hopping back on comfortably and spending your first week of rides wondering what changed.