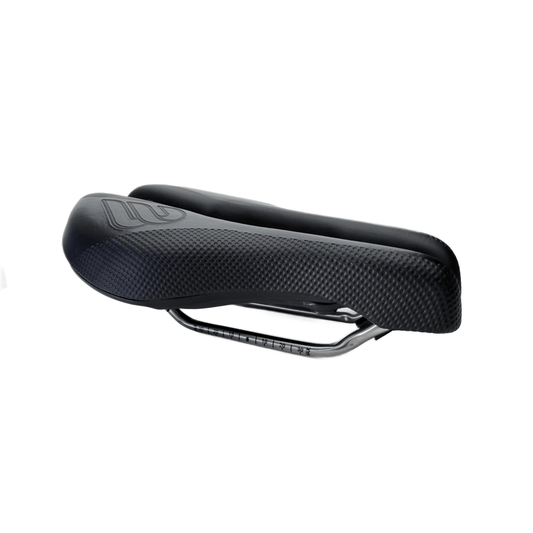
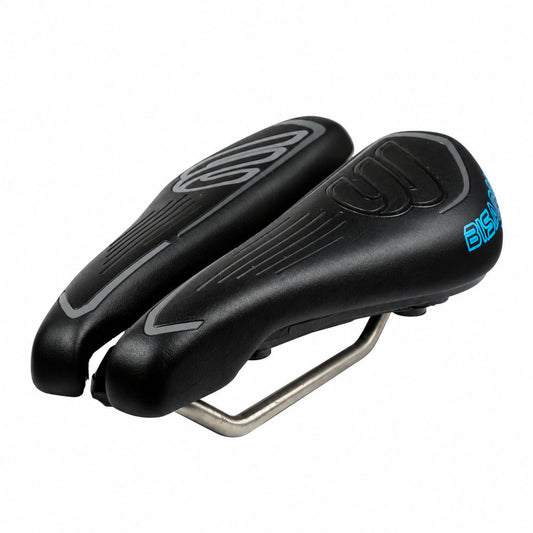
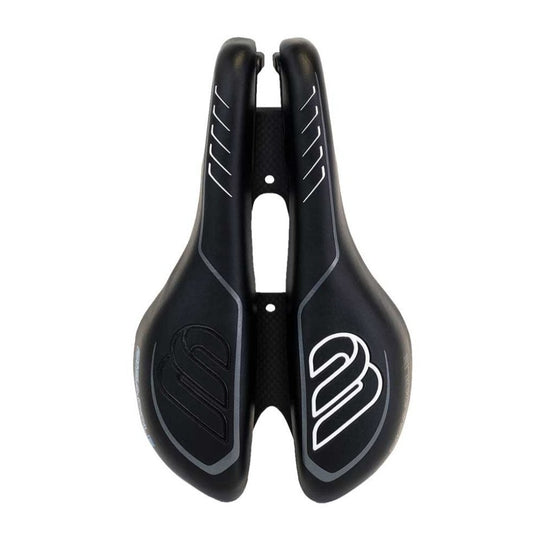
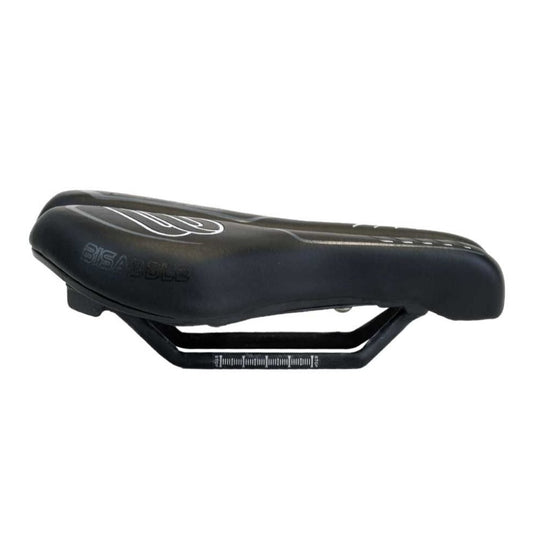
You have a new Bisaddle in the box. The first instinct is to reach for the seatpost clamp. Set that aside. The first thing you measure is sit bone width, because a Bisaddle adjusts to that number before the bike enters the picture. You tune the saddle instead of forcing your body to adapt.
The reason for this order shows up in rider surveys. One survey found 35 percent of female cyclists had experienced vulvar swelling. A 2023 study reported nearly 50 percent had long-term genital swelling or asymmetry. That damage comes from loading soft tissue instead of the ischial tuberosities. Bisaddle’s two sliding halves and 100mm to 175mm width range let you place the load on the bones from the first ride.
What you need before touching a bolt
Gather these items. You can do the first measurement on a hard chair at home.
- A piece of corrugated cardboard
- A marker or chalk
- A metric ruler or caliper
- Allen keys in 4mm, 5mm, and 6mm
- A torque wrench that fits your seatpost clamp
- A digital angle finder or phone level
- Carbon grip paste or light grease
- A clean rag
Keep the saddle off the bike while preparing. If your Bisaddle has carbon rails, apply carbon grip paste to the rail contact area and keep paste off the threads. If it has steel or chromoly rails, use a light film of grease on the clamp bolt threads only. Grease there prevents seizing without letting the saddle slip.
Measure sit bone width on a hard chair
Place the cardboard on a hard, flat chair. Sit with your pelvis tilted forward, as if riding on the brake hoods. Rock side to side a few times, then stand up. The two deepest dents are your ischial tuberosities. Mark the center of each dent and measure between the marks in millimeters. That number is your sit bone width.
Repeat the measurement twice if the dents look faint. Use the average. You now have a target for the adjustable width. Do not skip this step and guess. A 5mm error changes the pressure map across a three-hour ride.
Set the Bisaddle width with the saddle off the bike
Lay the saddle upside down on a soft mat. Find the width adjustment hardware under the shell. Loosen the recessed bolts enough that each half moves smoothly without rattling. Set the rear center-to-center measurement to your sit bone width plus a small allowance, roughly the width of a fingertip on each side. For a measured 120mm sit bone width, start around 125mm to 130mm.
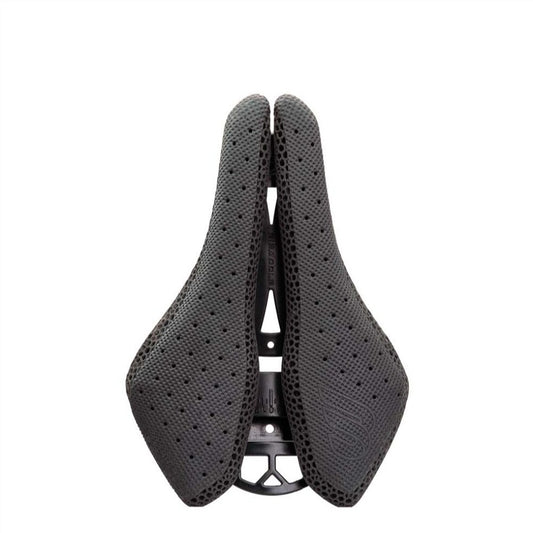
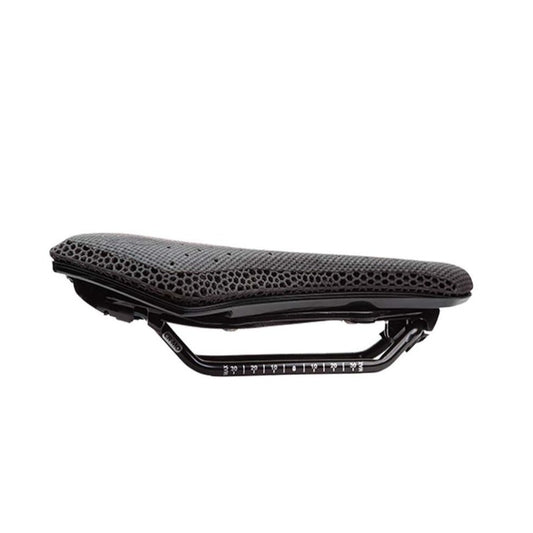
That allowance places the crest of each sit bone inside the padded zone, not on the outer edge. Do not open the saddle to the full 175mm because it feels plush. Wider support increases the chance the inner thigh contacts the shell edge on the downstroke. If you are setting up a Bisaddle Saint with the 3D-printed lattice top layer, keep the halves parallel and check that the foam surface does not wrinkle or pucker when moved.
Mount the rails and find level
Slide the rails into the seatpost clamp with the saddle at the midpoint of the rail. For the first fore-aft position, place the center of the rail clamp area over the seatpost center. Tighten just enough to hold position while still allowing small fore-aft changes by hand.
Set the saddle angle next. Use a digital angle finder along the highest flat section of the shell. Start at 0 degrees relative to level. A nose-down angle of less than one degree helps some riders who roll the pelvis forward on the drops, but it also shifts weight toward the pubic bone. Start level. Do not go nose-up. Position the saddle so the widest rear support rests under the sit bones, not behind them. If the tail sits too far back, the sit bones slide forward onto the cutout. If too far forward, the saddle pushes the pelvis backward and rounds the lower back. Move in 5mm increments later.
Torque, recheck, and the first 30 minutes
Before pedaling, grab the nose and tail. Twist firmly. If the rails rotate in the clamp, tighten in small increments. A carbon rail should never be over-torqued. Use a torque wrench if your seatpost clamp has a printed range. If no range is marked, stop when a firm hand twist no longer moves the saddle, then add no more than a small fraction of a turn. Check again after the first 30 minutes of riding.
Grip paste on carbon rails reduces the clamp force needed to stop movement. Without paste, a carbon rail can creep even when the bolt feels tight. For steel or chromoly rails, the thin film of grease on the clamp threads prevents galling and holds consistent tension. Verify that the width adjustment bolts are still snug after rail clamping. Clamping can shift the halves slightly. Re-measure the rear width before you ride. The saddle should not move when you pull up on the nose and press down on the tail.
Read pressure while you ride
Installation continues on the bike. Ride 20 to 30 minutes on a route that mimics your usual position. Wear the same padded shorts you plan to use. Stop when a sensation appears. Do not ride through numbness.
Record what you feel. A hot spot under one sit bone means the saddle is too narrow or the angle is off. Pressure in the center means the halves are too close. Chafing at the inner thigh means the halves are too wide. Numbness in the vulvar area means the front gap or nose angle needs work. Change one variable at a time. Move the left and right halves outward or inward by 2mm to 3mm total. Re-torque the width bolts. Ride another 15 minutes. Repeat the loop.
The goal is for the sit bones to carry most of the load with no sharp edge at the outer border. Pressure mapping research shows peak pressure drops when the support platform aligns with the ischial tuberosities. That is why width comes before every other fit variable.
Adjust the center gap and the nose
The Bisaddle split halves create a central channel. The channel width changes as the halves slide. For many women, widening the front section while keeping the rear width constant reduces labial and clitoral pressure. Some Bisaddle models let you set the front and rear of the halves at different widths by pivoting the halves independently.
If you feel pressure on the pubic bone, lower the nose no more than one degree at a time. If the pelvis rolls forward and soft tissue contacts the nose, open the front gap by a few millimeters. The Bisaddle SRT configures as a noseless variant if you need to remove front pressure completely. Do not go straight to the noseless position unless a standard gap and level angle still cause numbness. Soft tissue pressure produces swelling and nerve compression. That damage can persist after the ride if the fit is wrong. If symptoms appear, stop the test and change the saddle setting, not your riding position.
Final tightening and the two-week recheck
Return to the width bolts once after two weeks of regular riding. The padding compresses slightly and the rails settle. Re-measure the sit bone width only if your weight or flexibility changed. The adjustability means a different season or discipline does not require a new saddle. Move the halves to a narrower setting for an aero tuck or a wider setting for upright riding on the same rails.
Not every pain is a saddle width problem. If sit bone width and gap are set correctly but you still feel pressure, look at the bike fit. Saddle height alters pelvic rocking. Handlebar reach changes pelvic tilt. Crank length changes hip angle at the top of the stroke. A Bisaddle removes the saddle shape from the equation, which makes the remaining variables easier to isolate.
Install the width before the bolt. Mount the saddle level. Torque by hand and recheck. Then adjust one dimension at a time. The saddle is adjustable, and the installation should match it.