Most riders start with the shorts. Which pad thickness works with which saddle? That question gets the order backwards. The saddle sets the pressure map. The chamois is just the layer between your skin and that shape.
When a saddle presses soft tissue into a pad, adding more foam makes the pressure worse. You sink in. The middle rises up. That's why thicker pads often lead to more swelling and numbness, not less.
The Chamois Was Never a Structural Support
The old leather chamois existed to stop chafing against a hard leather saddle. It wasn't foam suspension. Modern pads are still an interface, not a load-bearing part.
That difference matters because many riders try to fix a wide sit-bone gap with an extra-gel pad. The pad squishes under your bones. The center of the pad pushes up into your perineum. More foam only changes how quickly you feel the pressure, not whether the pressure arrives.
A survey of female cyclists recorded 35 percent reporting vulvar swelling after riding. A 2023 study put long-term genital swelling or asymmetry at nearly 50 percent. Those numbers come from saddles that don't support the right bony landmarks. Shorts alone cannot reverse that.
Pelvic Anatomy and Where the Load Should Go
The bones that should carry your weight are the ischial tuberosities. In a forward, aero riding position, the pubic rami take some of the load too. The labia, vulvar soft tissue, and the pudendal nerve and artery need an open channel. If the saddle's rear width doesn't match your sit-bone distance, your body shifts load onto soft tissue. A pad can cushion skin. It cannot move that load back onto bone.
When you hunch into the drops or get down on aero bars, the pelvis rotates. The sit bones lift off the back of the saddle, and the pubic rami press against the front. A long, wide nose then pushes upward. Women often feel this as front-of-pelvis pain or numbness that starts an hour into a ride. The fix is a saddle that lets you narrow the front and open the central gap.
What an Adjustable Saddle Changes
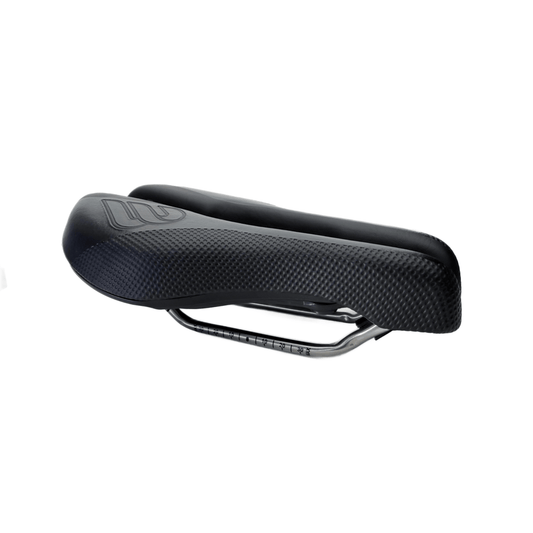
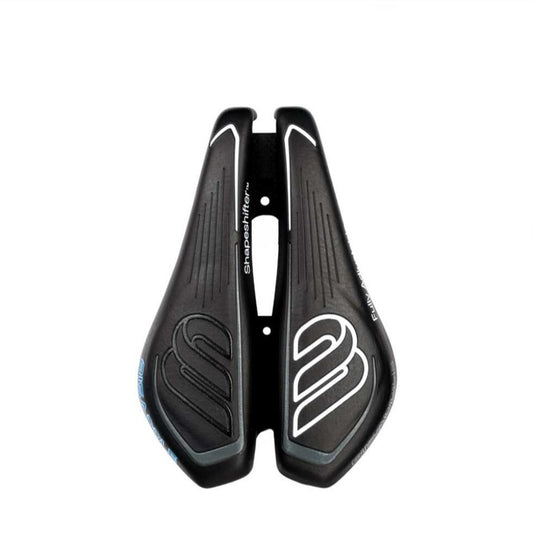
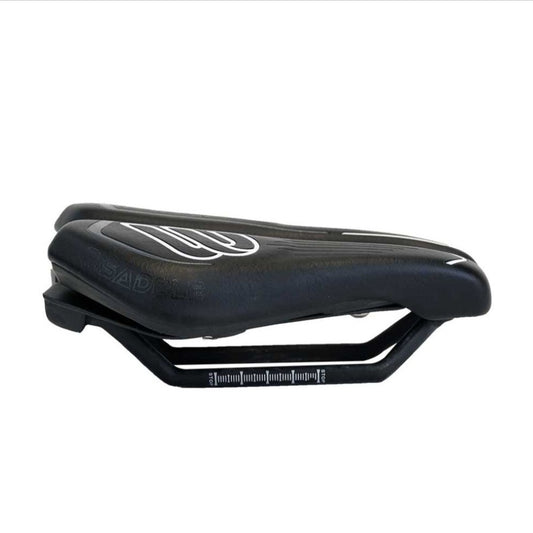
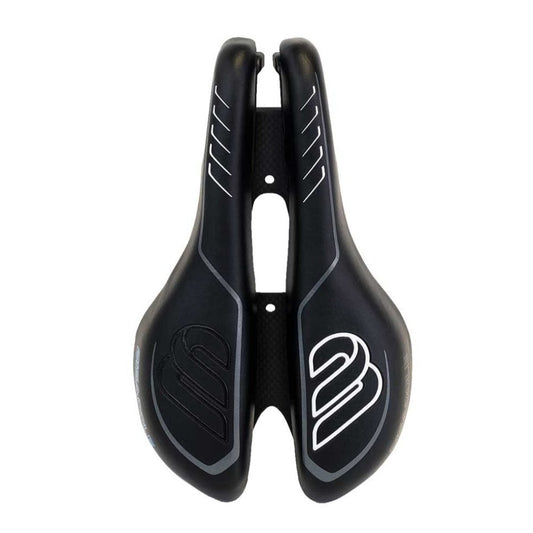
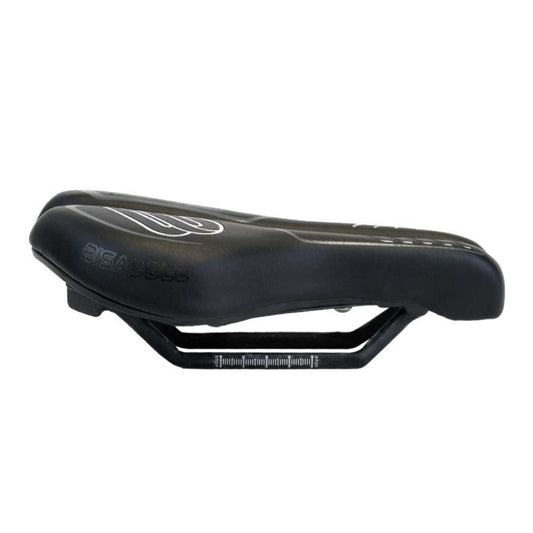
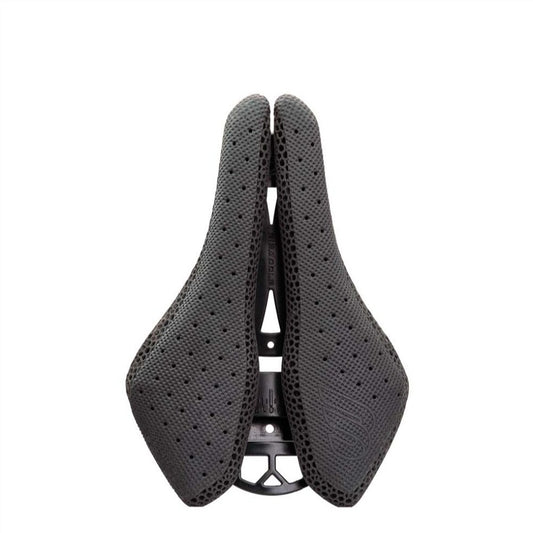
A BiSaddle is built from two halves that slide apart and together. The rear width adjusts from about 100 mm to 175 mm. That range covers the sit-bone spacing of most female riders. The front sections can also narrow to reduce nose pressure. The central gap between the halves can be opened or closed. That gives a perineal relief channel sized to you, not a fixed cutout.
This adjustability flips the matching sequence. Instead of asking which pad compensates for a fixed saddle, you set the saddle to your measured sit-bone spacing. Then the pad only needs to manage friction, moisture, and shear.
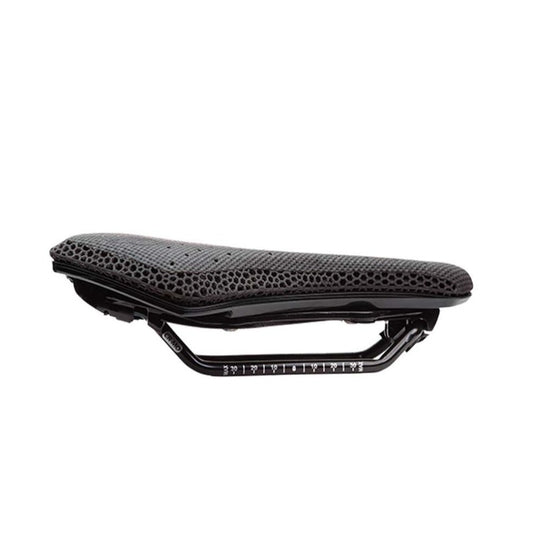
On the BiSaddle Saint model, the padding surface is a 3D-printed polymer lattice. The lattice can be zoned to be softer under the sit bones and firmer elsewhere. Because the saddle itself can be tuned to your pelvis, the chamois pad can be thinner. Less bulk, less heat, fewer folds that chafe.
The Order That Actually Works
Get the numbers before you buy anything.
- Measure your sit bone distance. A pressure mat or a piece of corrugated cardboard gives a usable number. The indentations show the centers of your ischial tuberosities.
- Set the BiSaddle rear width to that measurement. Add a few millimeters if you ride upright. Subtract a few if you spend most of a ride rotated forward.
- Open the central gap until you feel no soft tissue pressure. That gap width is a saddle setting, not a pad setting.
- Set the front width for your discipline. Road and gravel riders can keep a moderate front. Triathlon and time trial riders should narrow the front further. Riders who spend long hours on aerobars can also consider the noseless BiSaddle configuration.
- Choose the shorts last. The pad needs to match the saddle you just set, not the other way around.
After the saddle is set, look at the pad's construction. The firm foam zones should align with your sit-bone spacing. If your rear width is 140 mm, the pad's high-density zones should sit about 140 mm apart. The central channel or reduced-density strip should align with the saddle's open gap. If the pad's central channel is narrower than the saddle gap, the pad's edge can fold into the gap and press on skin. If the pad is much wider than the saddle, the extra material can wrap around the edge and chafe.
With an adjustable saddle, you can often drop to a lower-volume pad. The saddle handles pressure relief. The pad handles friction. That shifts the buying question: instead of hunting for a heavily padded women's short, look for a pad with smooth seams, a shaped front, and a central channel that stays put.
A Failure Pattern to Stop Repeating
This sequence fails often. A rider has 135 mm sit bones but a saddle fixed at 125 mm. She buys a thick, wide pad to cushion the problem. The pad lifts her body. The saddle wings now press on the inside edges of her sit bones. The extra center foam fills the gap and pushes up. Numbness and swelling persist.
The correct change is to widen the BiSaddle to 135 mm and switch to a lower-volume chamois. The saddle takes the pressure. The pad only manages shear.
Where Sensor Technology Is Heading
Pressure-sensing chamois inserts are already used by bike fitters. The next few years will bring saddles or pads with embedded pressure sensors that record hot spots during a ride. But those sensors only produce useful data if the saddle underneath can be changed in response.
A fixed saddle cannot use that data. An adjustable BiSaddle can. That is the real future of matching shorts to saddle: the saddle becomes the adjustable measurement tool, and the shorts become a thin, dry, sensor surface.
The fix is a saddle set to the pelvis. Once the BiSaddle rear width, central gap, and front width match the rider, the shorts question becomes simple. Choose the pad with the least bulk that handles moisture and friction. Stop asking the pad to do structural work.