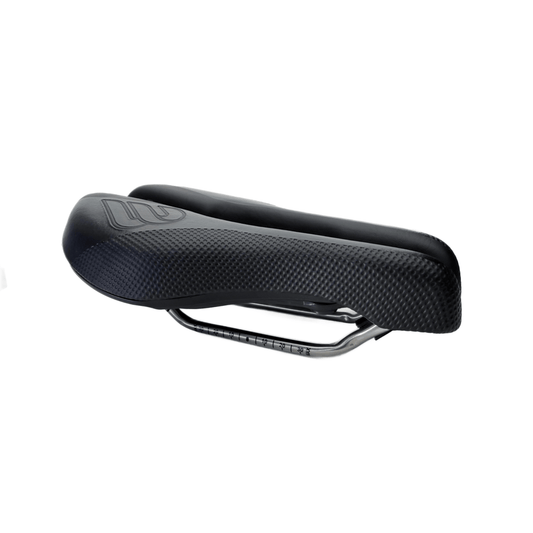
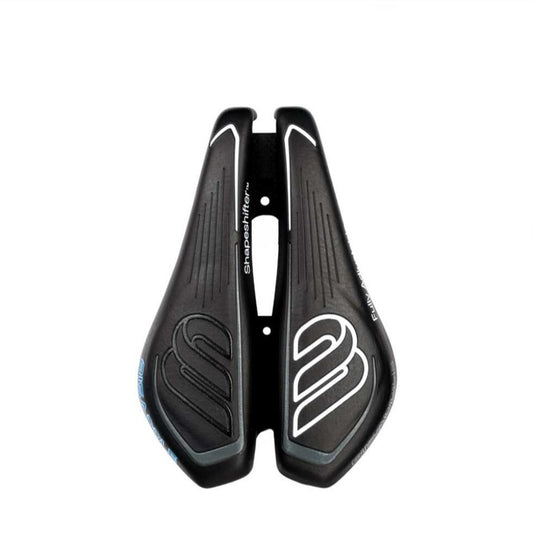
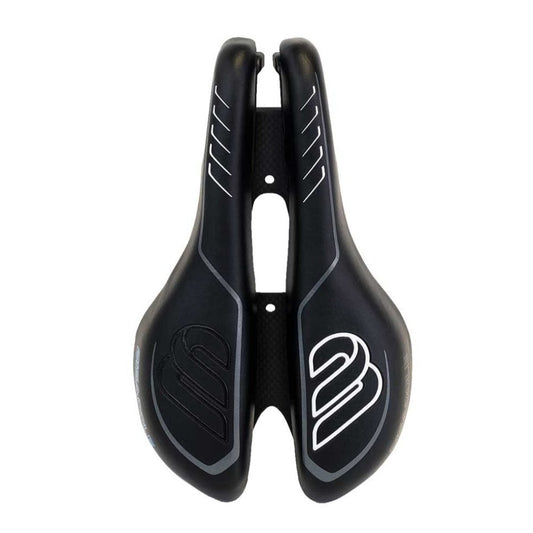
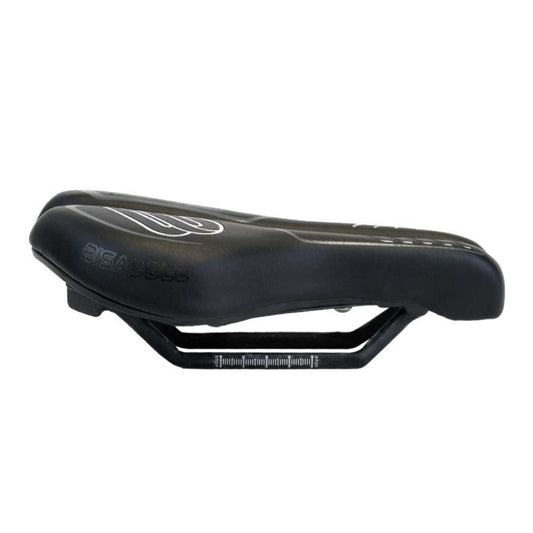
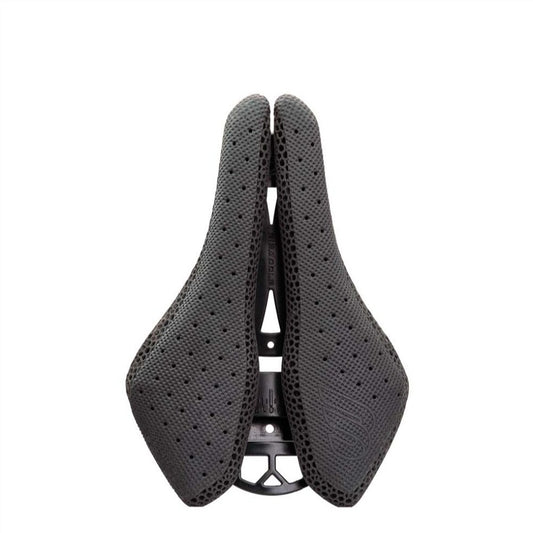
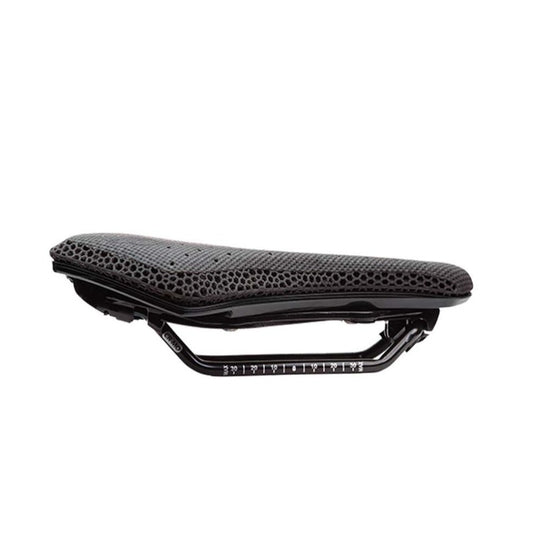
Most saddle setup videos for women show the final product. The saddle is mounted, the bolts are tight, and the rider pedals for fifteen seconds while the camera rolls. That format captures one setting. A BiSaddle is not a one-setting saddle. You can change the width, the angle, and the front gap after your first long ride, so the video needs to capture that sequence of changes, not the initial position.
A 2023 bicycle saddle industry report found that 35 percent of female cyclists have experienced vulvar swelling. Nearly half reported long-term swelling or asymmetry. Those numbers come from hours spent on a saddle that does not match the pelvis, and they move with rider position and saddle adjustments.
A static fit measured in a shop misses the two-hour mark, the aero tuck, and the gravel washboard. That is why you should film the first month of adjustments.
Static Fit Captures the Wrong Minute
On a trainer, you start fresh. Your sit bones contact the BiSaddle halves where they contact at minute one, not where they contact at minute ninety. Fatigue closes the hip angle, drops the pelvis, and moves pressure forward. For a female rider, that forward shift can compress soft tissue before she notices the first signs of numbness.
Soft tissue damage is not always immediate. The same industry report notes that both men and women can develop chronic perineal pain when a saddle fails to support the bony structures while minimizing load on soft tissue. BiSaddle's split design turns the central channel into an adjustable gap. The two halves slide between 100 and 175 mm, so you can widen the rear for sit-bone support and open the front gap independently. A fixed shell cannot do that.
Film the Settings, Not Just the Rider
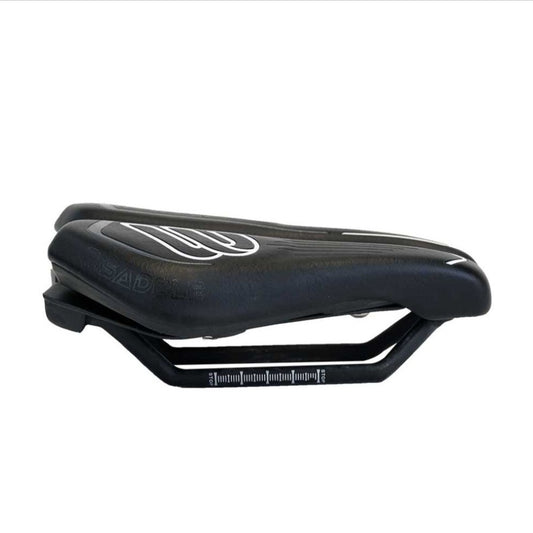
Set up a camera behind the bike, at saddle height, far enough to include both hips and the saddle rails. Record the rider on a trainer for 60 seconds at endurance pace. Then record three close-ups: the left half position, the right half position, and the rail index under the saddle. If the rails have no index marks, place a strip of tape on each rail before the ride.
Repeat this sequence every time you touch the saddle.
- Rear view, 60 seconds of pedaling.
- Close-up of left half and right half width.
- Close-up of rail position and saddle angle.
- Fifteen seconds spoken: where pressure started, when numbness appeared, and whether the saddle felt stable.
Say the width in millimeters, the saddle angle, and the ride duration into the camera at the end of each session. That spoken note becomes the most useful part of the log when you review a month later.
Read the Footage in Pairs
Compare two consecutive clips side by side. Look for hip rock: if the hips drop left to right with each stroke, the rider is compensating for a support imbalance. Check that both BiSaddle halves sit at the same height and angle before changing width. If one side is lower, the pelvis will shift to that side and the video will show an asymmetrical pedal stroke.
In the rear view, watch the gluteal fold. If it hangs outside the saddle edge, widen that half. If it folds over the center gap, move the halves out until the sit bones rest on the cushion surface, not the gap.
In an aero position, the pelvis rotates and pressure moves to the pubic rami. A front gap that pinches at minute 20 will be visible as the rider scoots backward on the rail. Open the front gap on the BiSaddle and log the new setting.
A Four-Week Protocol
Start at 135 mm, the midpoint of the 100 to 175 mm range, if no prior measurement exists. Film the baseline. Ride 60 minutes. At the end, record symptoms and one still frame from the rear view.
At the end of week one, adjust one variable only: width. Keep saddle height and tilt unchanged. Film the new setting and ride again. Changing one thing makes the footage legible. If you alter width and angle together, you cannot tell which change removed the pressure.
By week four, you will have four pairs of clips: baseline, width adjustment, angle adjustment, and long-ride verification. The log shows what a single tutorial cannot: a record of how the saddle responded to your body over time.
One Saddle Across Road, Tri, and Gravel
Riders often need different support in different positions. On the hoods, the sit bones carry most of the load. In aero bars, the pelvis rotates forward and pressure shifts to the pubic bone. Gravel adds vibration and micro-adjustments during long climbs.
A fixed shell can address one of these positions well and the others poorly. The BiSaddle lets you adjust and re-measure; you can record two or three settings in the log and return to them before each ride. For gravel, the BiSaddle Saint model uses a 3D-printed polymer surface that adds tuned cushioning while keeping the adjustable halves. The video log records the setting for each discipline, so you can retrieve it before a ride.
The Log Becomes the Tutorial
Setup videos usually end with a final answer. This method ends with a working document. Each clip records the width, the angle, and the rider's report. When pain appears at hour three, you can scroll back to the setting that kept it away at hour two.
The log also changes the conversation with a fitter. Instead of handing over a single saddle position, you hand over a month of evidence. That is more useful than a 30-second tutorial because it shows how the saddle behaves under real load.
Film the rails. Record the numbers. Ride, adjust one variable, and film again. A BiSaddle can be retuned, and the video log is how you prove which tune worked.