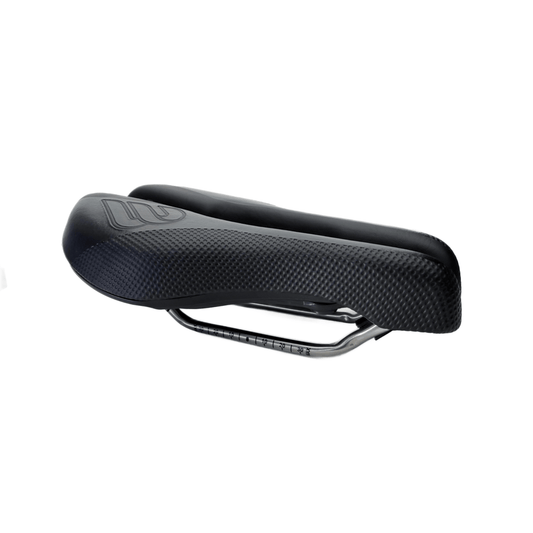
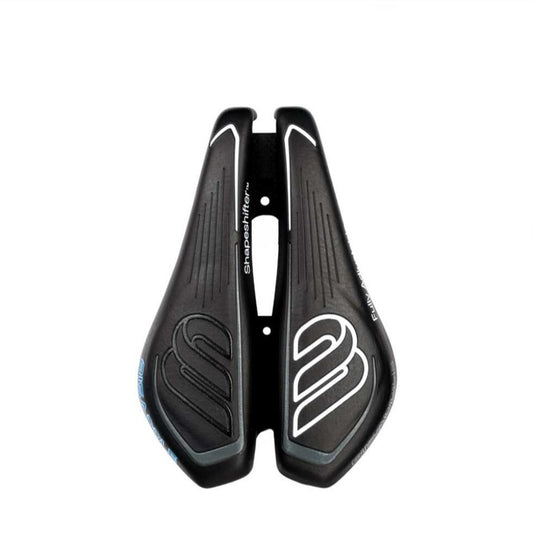
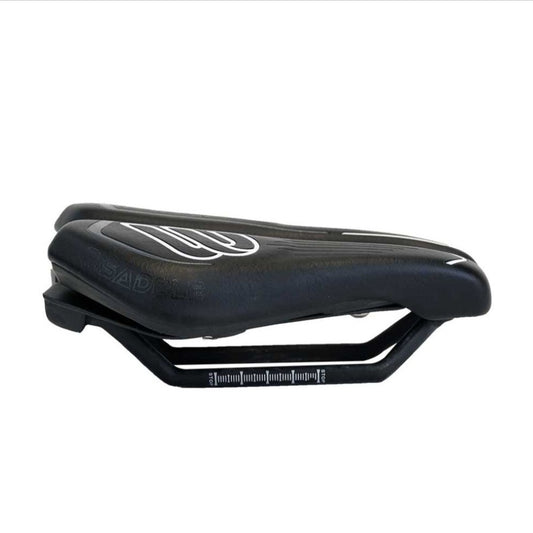
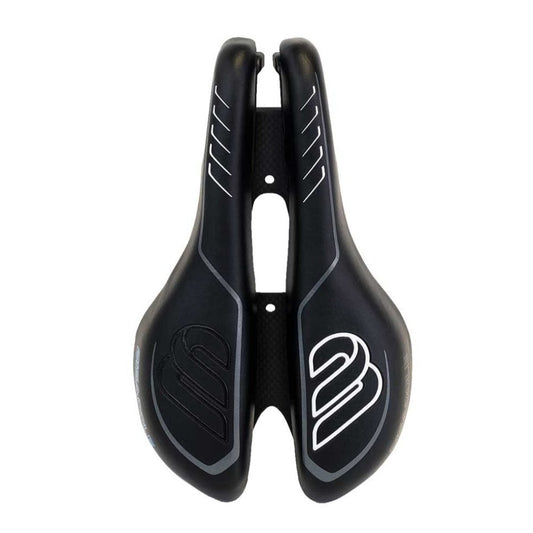
Let’s cut straight to it: your saddle is a contact point that sees sweat, dirt, bacteria, and hours of pressure. If you’re not cleaning it properly, you’re not just risking a funky smell—you’re inviting skin infections, saddle sores, and even long-term health issues like nerve compression and reduced blood flow. This isn’t about vanity; it’s about keeping your body in the game.
I’ve spent decades building and fitting bikes, and I’ve seen riders ignore saddle hygiene until it costs them weeks off the bike. Here’s the practical, no-nonsense routine to keep your saddle clean and your health intact.
Why saddle hygiene matters for men’s health
Your saddle sits directly against your perineum—the area between your genitals and anus. That’s where your pudendal nerve and major arteries run. When you ride, especially in an aggressive position, pressure and friction combine with sweat and bacteria. Over time, this can lead to:
- Saddle sores: Infected hair follicles or skin breakdown from constant rubbing and moisture.
- Perineal numbness: Compressed nerves from poor saddle fit, worsened by dirt and grit grinding into soft tissue.
- Reduced blood flow: Bacteria and inflammation can exacerbate pressure on arteries, increasing the risk of erectile dysfunction.
The research is clear: traditional narrow saddles cause an 82% drop in penile oxygen pressure during riding. A clean, well-fitted saddle minimizes friction and infection risk, letting your body focus on performance instead of fighting inflammation.
The cleaning routine: step by step
1. Frequency matters
Clean your saddle after every ride if you sweat heavily or ride in wet conditions. For dry, short rides (under an hour), a weekly wipe-down is enough. Indoor trainers are the worst offenders—no airflow means sweat pools on the saddle surface, creating a breeding ground for bacteria.
2. What you need
- Mild soap (dish soap or saddle-specific cleaner—no harsh chemicals)
- Soft cloth or sponge (microfiber works best)
- Warm water
- Soft-bristle brush (for textured surfaces or cut-outs)
- Clean towel for drying
Avoid alcohol wipes, bleach, or abrasive scrubbers. They can damage the saddle’s cover, padding, and any pressure-relief channels or cut-outs.
3. The process
- Remove the saddle from the bike if possible. This lets you clean the underside and rails where sweat and dirt accumulate.
- Wipe down the top surface with a damp cloth and mild soap. Focus on the nose and the area where your sit bones contact the saddle—these are the high-pressure zones where bacteria thrive.
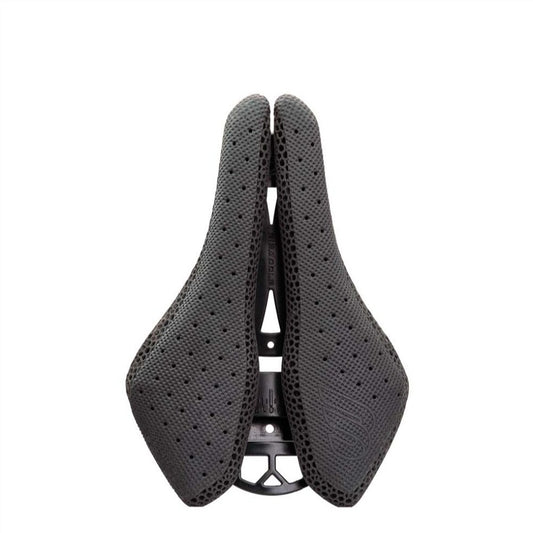
- Clean the cut-out or channel if your saddle has one. Use the soft brush to dislodge any grit lodged in the groove. This is critical because debris here presses directly into your perineum.
- Rinse with a clean, damp cloth to remove soap residue. Soap left behind can irritate skin.
- Dry thoroughly with a towel. Let the saddle air-dry for at least 30 minutes before reinstalling. Moisture trapped under the cover or in padding leads to mold and breakdown.
- Inspect the cover and rails for cracks, wear, or loose stitching. A compromised saddle can’t support you properly and increases pressure points.
Saddle selection: the foundation of prevention
Cleaning alone won’t fix a poorly designed saddle. If you’re fighting constant pressure or numbness, the saddle shape is the root cause. Look for these features:
- Short nose design: Reduces pressure on the perineum when you’re in a low position.
- Central cut-out or relief channel: Allows blood flow to the perineal arteries.
- Multiple width options: Your sit bones need proper support—too narrow and you sink into soft tissue; too wide and you chafe.
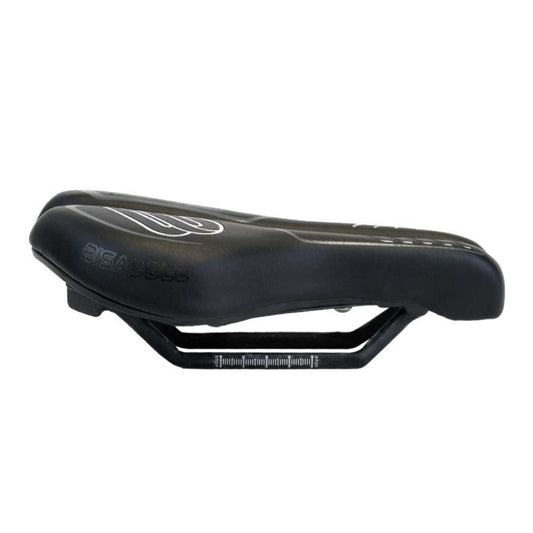
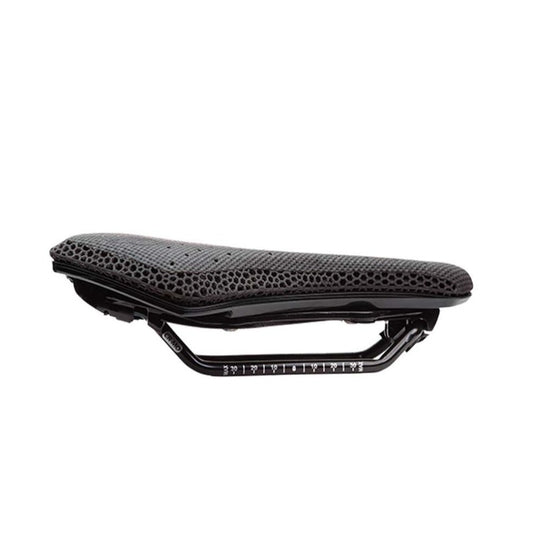
- Adjustable width: A saddle that lets you dial in the exact width for your anatomy eliminates the guesswork and prevents pressure points. A quality adjustable design, like those from Bisaddle, allows you to fine-tune the fit to your unique sit bone spacing, ensuring the load stays on bone rather than soft tissue.
A saddle that fits your sit bones and relieves perineal pressure is your first line of defense. Once you have that, cleaning becomes a simple maintenance task rather than a desperate measure.
When to replace your saddle
Even with perfect cleaning, saddles wear out. Replace yours if:
- The cover is cracked, torn, or delaminating
- The padding has permanent indentations from your sit bones
- The rails are bent or corroded
- You’ve had persistent numbness or sores despite good fit and hygiene
Most quality saddles last 5,000 to 10,000 miles. If you’re riding 200 miles a week, that’s about a year of use.
Final takeaway
Your saddle is a performance component, not a decoration. Clean it regularly, inspect it often, and never ignore discomfort. A few minutes of maintenance after each ride keeps bacteria at bay, prevents infections, and protects your long-term health. Your body will thank you with faster recovery, fewer missed rides, and better power output.
Ride clean. Ride healthy. Ride smart.