Most saddle fittings start with a memory foam pad and a sit bone measurement. That number gets matched to a saddle width. Then you lower onto the aerobars and the entire support pattern changes. The measurement from an upright seat doesn't describe what happens in a triathlon tuck.
In the aerobar position, the pelvis rotates forward. Load moves off the sit bones and onto the pubic rami, the two bones at the front of the pelvis. A saddle picked for upright comfort now concentrates pressure on soft tissue and blood vessels. For women, the damage shows up as swelling and numbness. One industry survey of female cyclists found that 35% had experienced vulvar swelling, and a 2023 study found close to half reported long-term swelling or tissue asymmetry. Those injuries come from structural compression, not from a thin layer of foam.
The first step is a trainer session in your race position. Leave the width chart for later.
Why Upright Measurements Fail for Triathlon
Retail sit bone measurements assume an upright pelvis. In a triathlon tuck, the contact patch narrows and shifts forward. The front section of the saddle carries much of your body weight, and that section is where most fixed saddles place firm material directly under the pubic rami.
A wider rear doesn't rescue the front. You might support the sit bones better and still compress the soft tissue at the nose. That's why a size that feels fine while sitting up can cause numbness late in the bike leg.
Fixed Width Makes a Moving Target
Fixed saddles ask you to commit to a geometry before you know what your body does in aero. Once you drop onto the aerobars, the cut-out edge may land under the pudendal artery. Going a size wider can improve sit bone contact while the front section still presses upward.
Your pelvis also moves within a single ride. Core fatigue late in a long ride changes how you sit. A lowered head position does the same. A hydration pack between the arms shifts weight forward. A fixed shell can't follow these changes. A saddle that feels fine early can cause numbness later, even if you never move.
What Adjustable Width Lets You Do
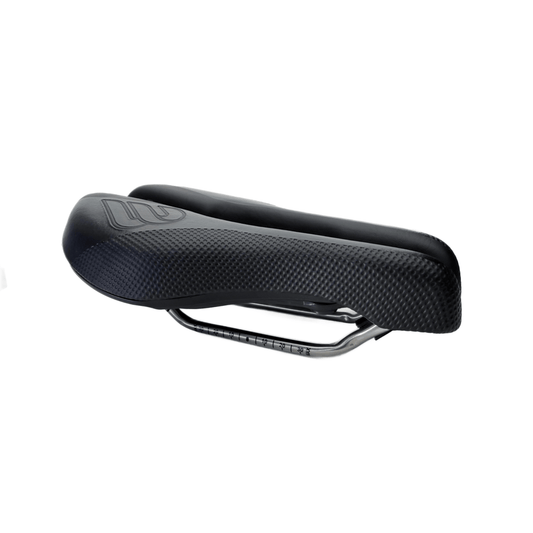
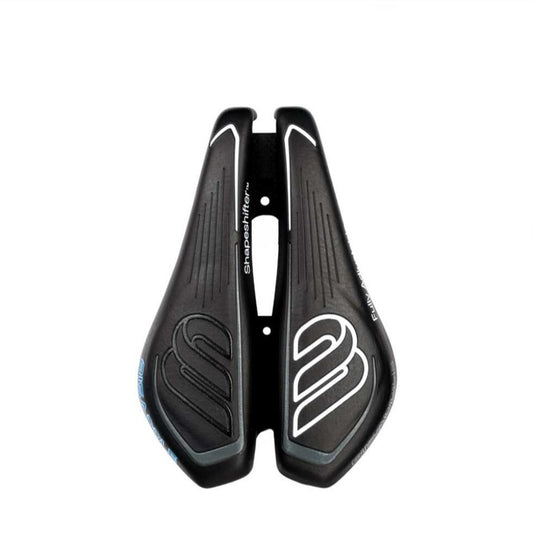
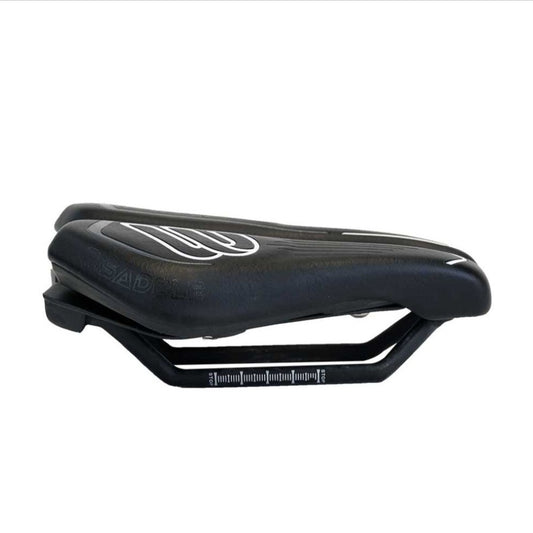
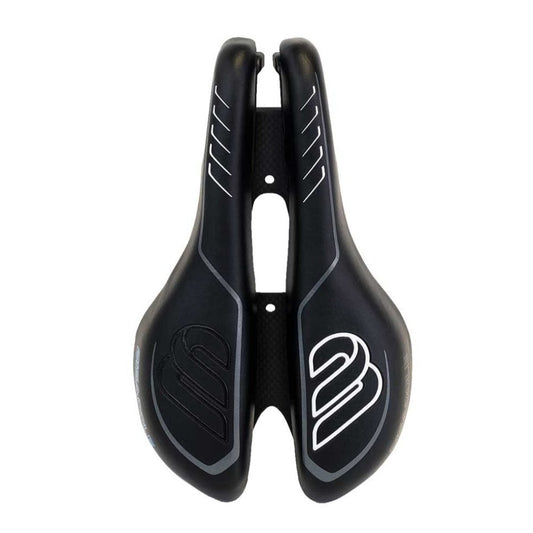
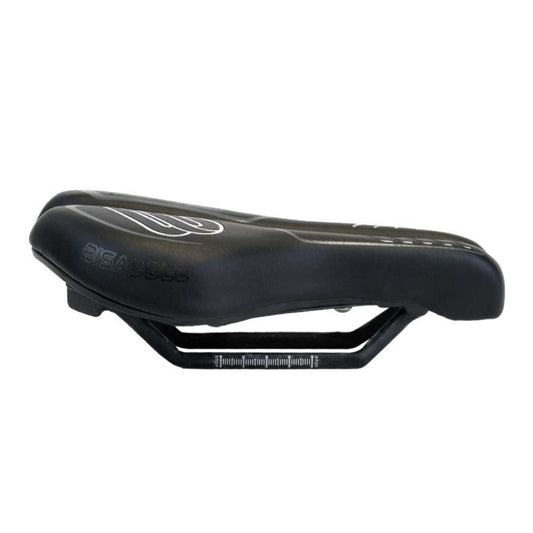
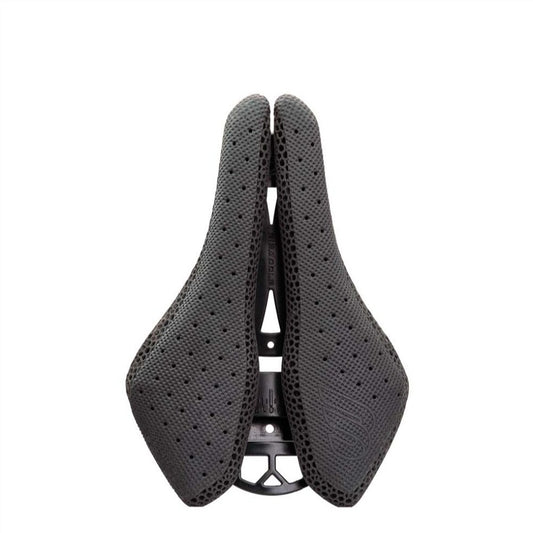
BiSaddle uses two saddle halves on a shared rail system. The halves slide inward or outward from 100 to 175 mm, and each half tilts independently. The gap between them acts as an adjustable relief channel. You can set the rear width to support your sit bones and then open or close the front gap until the pubic rami carry load without soft tissue compression.
Saddle selection becomes a test you perform at the trainer. The short nose models reduce front pressure for moderately aggressive positions. The SRT variant removes the nose entirely for riders who want zero front contact in a deep aero tuck.
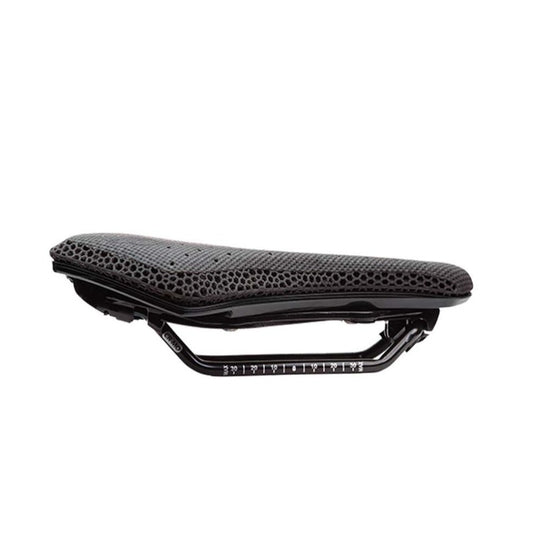
One saddle can adapt to different bikes too. A road position may need a narrower rear. A time trial bike with low arm pads may need a wider rear and a wider front gap. Moving the same BiSaddle between bikes takes minutes. The Saint model pairs this adjustability with a 3D printed foam lattice. That lattice provides zonal compliance under the pubic rami and sit bones, and it doesn't pack out the way a single-density foam does over a long race.
Fitting in the Aero Position
Set the bike to your racing position first: crank length, saddle height, and fore-aft. Then follow these steps.
- Put the triathlon bike on a trainer and get into the aero position you hold in racing. Do not measure sitting upright.
- Start with the BiSaddle halves near the middle of the 100 to 175 mm range, with the rear of each half roughly level.
- Pedal for ten minutes in aero. Pay attention to your sit bones and the front soft tissue. The sit bones should feel supported from underneath, not tilted off the rear edge. The front gap should leave room for soft tissue, not pinch it.
- If you feel perineal pressure, move the halves apart a few millimeters and retest. If your sit bones feel unsupported or you sink between the halves, move them closer.
- Tilt the front of each half down slightly only if pressure remains behind the pubic bone. One or two degrees often shifts load rearward without changing width.
- Tighten the lock bolts and mark the position. The settings repeat for travel and race day.
The goal is to put the load on bone and off the nerves and blood vessels.
Two Common Fit Errors
First, measuring sit bone width through street clothes. Denim and everyday fabric compress differently than cycling shorts in a riding position. The number it produces can place a cut-out edge in the wrong spot.
Second, treating the saddle as a cushion. Thick padding can compress under the pubic rami and push back into the same soft tissue you're trying to protect. Width and angle matter more than cover thickness. Set those first, then decide whether you need extra padding.
When to Adjust Again
A saddle fit is not permanent. You may need a different width after changing aerobar stack, after a bike fit alters hip angle, or after pregnancy changes pelvic alignment. With a fixed saddle, each change means another purchase. With BiSaddle, the change is a hex key and a few minutes on the trainer.
The Full Bike Leg Test
The test is simple: can you hold your aerobar position for the full bike leg without shifting from numbness? If you can't, the saddle width is the first variable to change. BiSaddle's adjustable halves let you change that variable at the trainer, not at the shop counter.