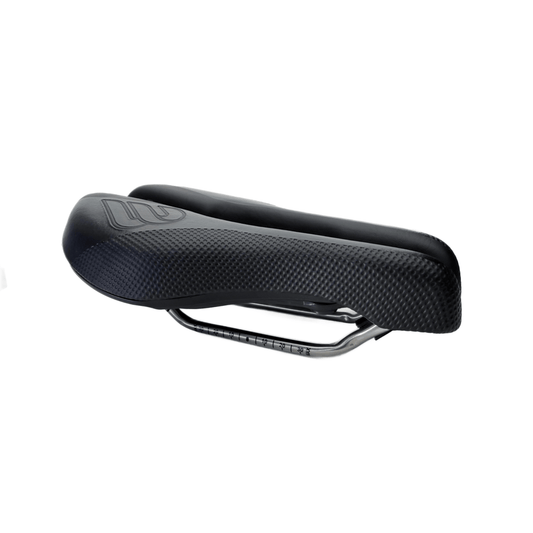
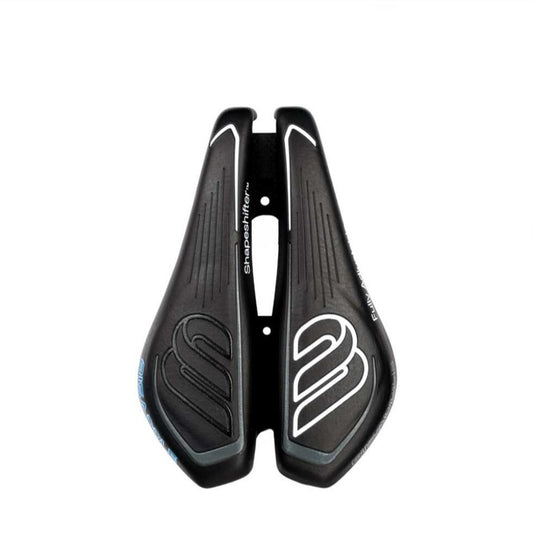
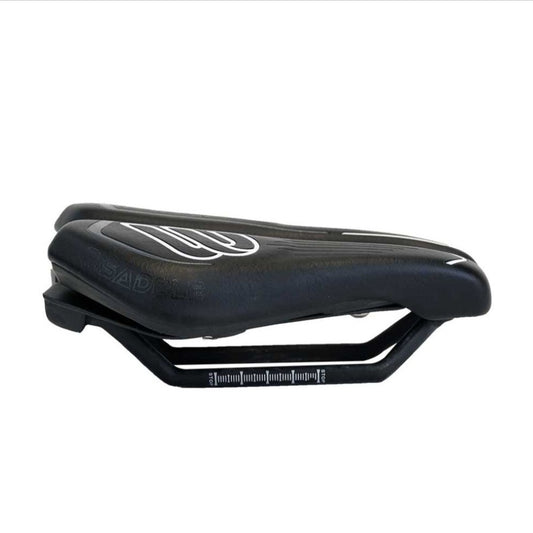
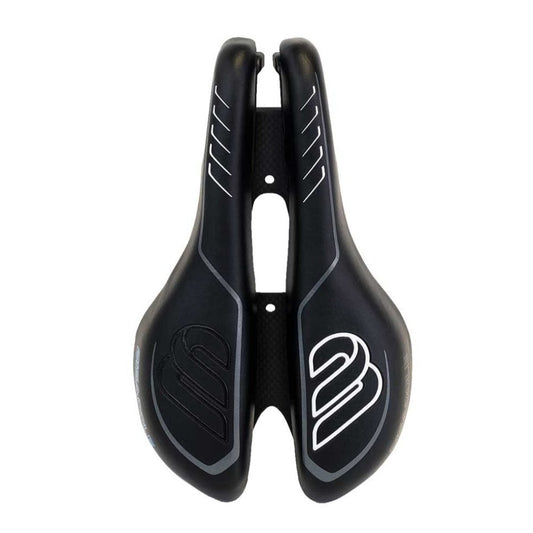
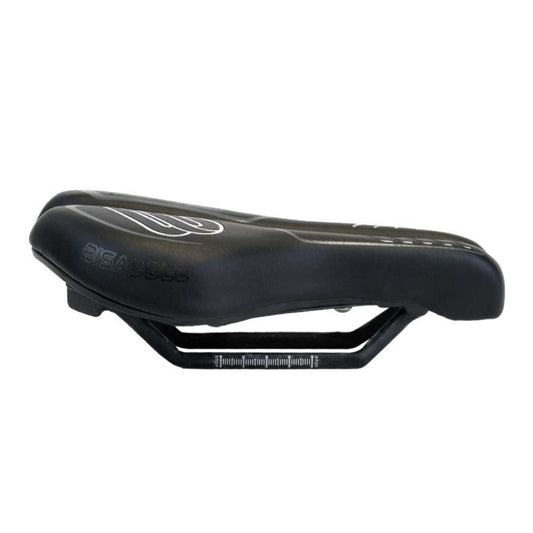
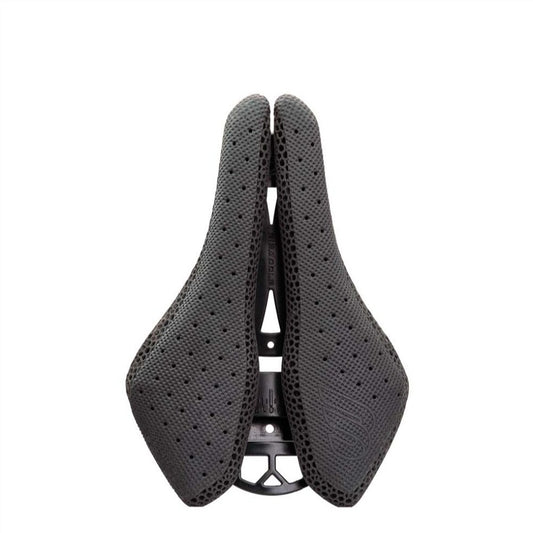
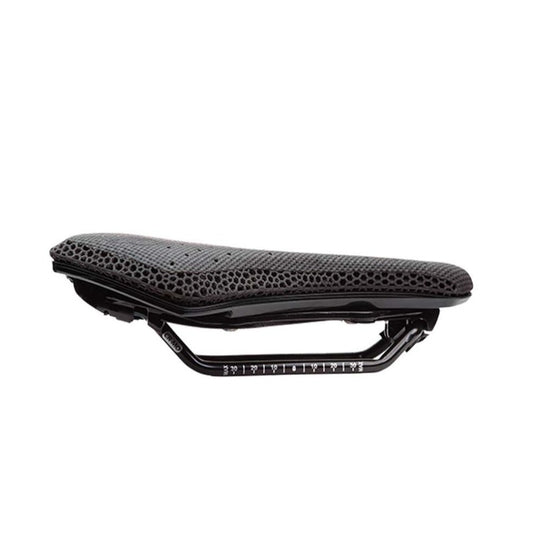
Most men install a saddle the same way they install a stem or a set of pedals. They clamp the part, torque the bolt, and ride. That sequence works for components with one correct position. A saddle has more than one correct position. On a Bisaddle split-shell saddle, the shell width and wing angle adjust before the rail clamp gets torqued. Skip that step and you can torque the clamp perfectly while still compressing the pudendal artery after 40 minutes in the saddle.
Extra padding or a different rail material will not fix that. The fix is an install sequence built around fit.
The Fixed-Shell Era Trained Men to Ignore Width
Early leather saddles had no separate width adjustment. You installed the nose bolt, tensioned the leather, and lived with the shape the frame produced. Molded plastic shells made installation even simpler: set the saddle rail fore and aft, then tilt the nose up or down. Width was a purchasing decision, not an installation step.
That history left a blind spot. A rider with 145 mm sit bone spacing can install a 130 mm saddle square, level, and at the correct torque, and still end up numb. The torque wrench did its job. The width was wrong before the first bolt touched the clamp.
Bisaddle's split shell reverses that history. The rear halves slide from 100 mm to 175 mm wide, and each side tilts independently. The saddle conforms to your skeleton instead of asking your skeleton to conform to the saddle. Width becomes step one.
Male Anatomy Punishes the Torque-First Approach
The male perineum carries the pudendal artery and nerve through a narrow space between the sit bones. When a saddle is too narrow, the sit bones do not take the load. The soft tissue between them takes the load instead. Compression follows, then numbness, reduced blood flow, and the long-term problems that follow.
One urological study measured penile oxygen pressure on male cyclists sitting on different saddle shapes. A narrow, heavily padded saddle caused an 82 percent drop in penile oxygen pressure. A wider noseless saddle limited the drop to roughly 20 percent. Load distribution drove that difference, not torque.
This is why padding cannot rescue a bad install on a fixed shell. If the shell is too narrow, thick padding lets the sit bones sink into the foam. The center of the saddle then pushes upward into soft tissue. Pressure moves to exactly the wrong place.
Bisaddle's split design removes material from the center and lets the central gap change with your anatomy. That gap functions as a safety margin between the shell halves and the pudendal structures.
Install Bisaddle's Split Shell in Five Steps
Do the measurements before you tighten the clamp.
- Measure sit bone spacing first. Place a sheet of corrugated cardboard on a hard stool. Sit with your pelvis tilted forward as you would on the bike, not upright like a dining chair. Hold for 30 seconds. Stand up and find the two deepest indentations. Measure the center-to-center distance between them. Set the Bisaddle rear width to that measured distance plus roughly 20 mm, staying within the saddle's 100 to 175 mm range. Think of this as a starting width. You will refine it after a test ride.
- Mount the shell loose. Clamp the saddle rails in the seatpost but leave the clamp bolt loose enough that the saddle moves with firm hand pressure. Set the rear of the shell roughly level. Do not torque the clamp yet.
- Set the rear width with the saddle on the bike. Sit on the bike with your feet on the pedals and your hands on the bars. Have someone look from behind. Both sit bones should land on the foam pads of the two shell halves, not on the central gap or the outer edge. If the sit bones hang over the outside, widen the halves. If the sit bones fall inward, narrow the halves. Tighten the width lock bolts evenly, alternating a quarter turn at a time so the two halves stay symmetrical.
- Set each wing angle independently. Bisaddle's halves tilt separately. For most men, the rear stays level or tilts up one or two degrees, while the front edges drop slightly to reduce perineal contact. Change one side at a time. A half-degree change at the front edge is noticeable and often enough. Place the widest part of the shell under the sit bones while keeping the front of the shell from loading the soft tissue.
- Set fore and aft, then torque. Put the crank arm horizontal with the pedal at the three o'clock position. Drop a plumb line from the bony bump just below the kneecap. It should pass through or just behind the pedal axle. Slide the saddle fore or aft to meet that position. Only now do you torque the seatpost clamp. Use the value printed on the clamp body. If the clamp has no marking, use the lowest torque that stops the saddle from moving during a hard standing start. Recheck after 20 minutes and again after the first long ride.
The Noseless Option and the 82 Percent Number
The urological study described two conditions: a narrow padded saddle and a wider noseless saddle. Bisaddle offers both adjustability and a fully noseless variant. The Bisaddle SRT removes the nose entirely. On other Bisaddle models, sliding the front halves closer together narrows the nose and shifts pressure rearward toward the sit bones.
A man with recurring numbness can start with the front halves set narrow and the rear width set wide. That configuration approximates a noseless saddle while retaining the rear platform for power transfer. If the symptom persists, move to the SRT model. The adjustment range lets you make a large change without buying a new saddle.
Why the Future Install Will Be a Re-Fit, Not an Assembly
Industry reports point toward pressure-sensing saddles and 3D-printed padding as the next standard features. Bisaddle's Saint model already uses a 3D-printed foam surface on the shell halves. As that material improves, the saddle could remember fit presets and report contact pressure to a phone.
That shift will change installation again. Instead of measuring sit bones with cardboard once and forgetting the number, riders will re-fit the saddle each season. Flexibility changes, saddle height changes, and crash recovery changes pelvic tilt. A fixed shell cannot follow those changes. An adjustable shell can.
The practical result is that installing a men's saddle becomes a periodic measurement session rather than a one-time assembly. Understanding width and angle now puts you ahead of that transition.
The Install Sequence Ends Where It Began
Men's saddle discomfort is a load problem. The fixed-shell era made width a purchase decision, so many riders never adjusted it even when the saddle number was wrong. Bisaddle's split shell puts width and wing angle back into the installation process where they belong.
Set the width from sit bone measurement. Set the angle from perineal pressure. Set fore and aft from knee position. Torque last.
If your current install routine starts and ends at the seatpost clamp, you skipped the step that determines whether the next century ride ends in numbness or in a normal saddle.