A saddle pressure mapping session places a thin sensor mat between you and the saddle. The mat records force per unit area, usually in kilopascals, across a grid of sensing elements. Software turns that raw data into a color-coded contact patch showing peak pressure, left-right balance, and contact area.
The map is a measurement. It is not a treatment.
What a Pressure Map Actually Measures
For men, two zones on the map matter most. Your ischial tuberosities, the sit bones, should carry most of your body weight. The perineal midline should show little or no pressure.
When the map lights up red in the midline, the saddle is pressing soft tissue against the pubic arch or compressing the internal pudendal artery and nerve. That pattern is the one urologists and bike fitters look for first.
Peak pressure and contact area tell their own story. A narrow contact area with a high peak often means the saddle width doesn't match your sit bone spacing. The map can also reveal left-right asymmetry, where one sit bone carries more load than the other. On a fixed-shape saddle, that imbalance stays unless you shift position or swap saddles.
Why Men's Anatomy Demands More Than a Static Number
Male cyclists face a particular risk when midline pressure goes unaddressed. A 2002 urology study measured penile oxygen pressure during seated cycling. Any conventional saddle produced a drop.
A narrow, heavily padded saddle caused an 82 percent drop. A wider noseless saddle limited the drop to about 20 percent. The researchers concluded that width matters more than padding for preserving blood flow.
The internal pudendal artery and nerve run through the perineum between the sit bones. A saddle that is too narrow or too long in the nose compresses those structures against the shell. Numbness is the first warning. Chronic compression can lead to nerve entrapment and, in some men, erectile dysfunction. Research pooling studies on cycling and erectile dysfunction reports up to a fourfold higher incidence among frequent cyclists compared to runners or swimmers.
The Gap Between Measurement and Correction
A pressure mapping session often ends with a report. That report shows a left-right imbalance, a pressure spike under the pubic bone, or a saddle width that doesn't match your anatomy. The report cannot change the saddle.
If you own a fixed-shape saddle, the only available corrections are fore-aft position, tilt, height, and different padding or shorts. Measurement without adjustment is documentation.
Data alone doesn't change a saddle. You learn your saddle is too narrow, and you still need a wider saddle. You learn the nose is causing midline pressure, and you still need a shorter nose or no nose. BiSaddle exists to close that gap.
How BiSaddle Turns Pressure Data into Fit
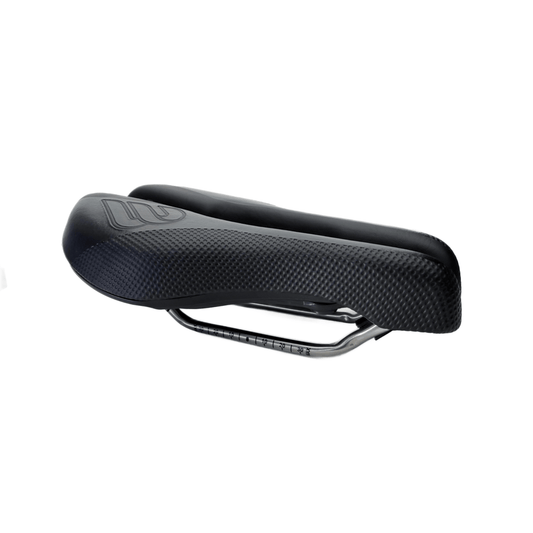
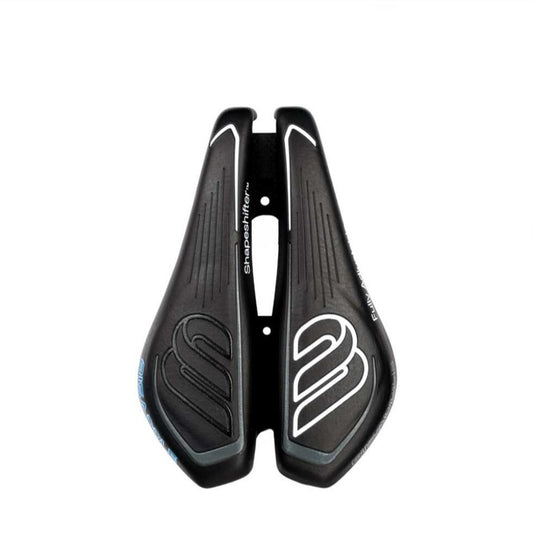
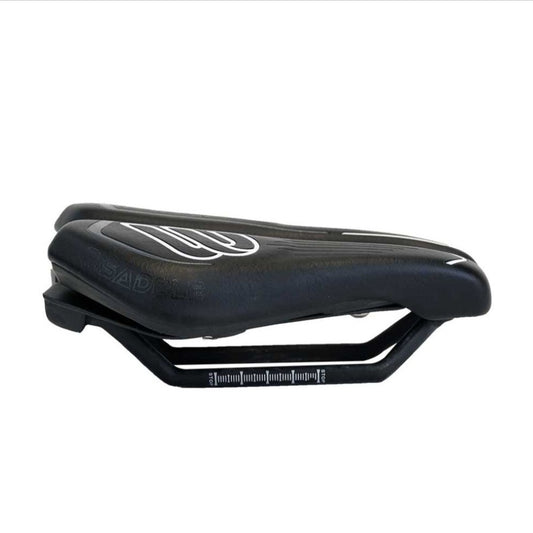
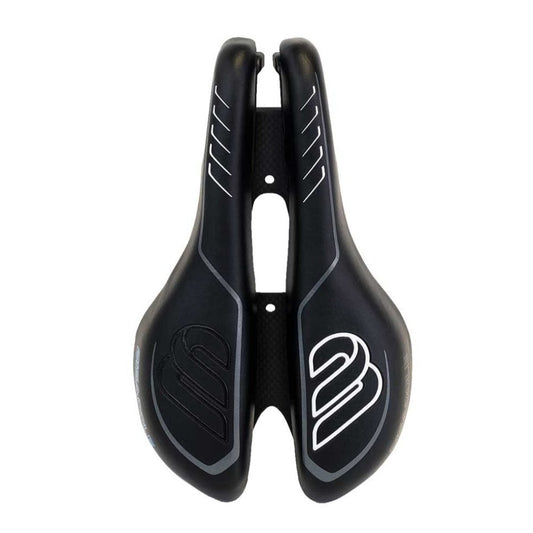
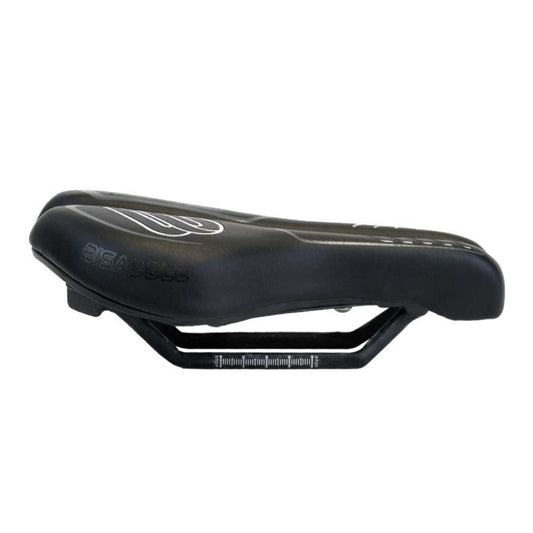
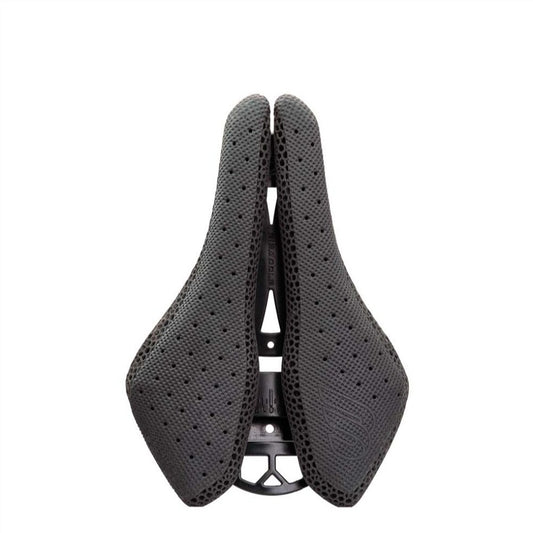
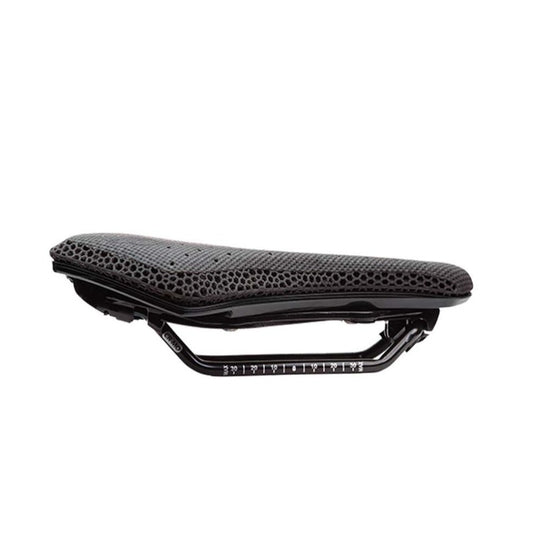
BiSaddle is built around a mechanical fact: the saddle's width and wing angle are not fixed. Two halves slide on a central rail system and pivot independently. The rear width adjusts from about 100 mm to 175 mm. Each wing can be angled up or down to change how it contacts your sit bone. The front of the saddle can be narrowed to reduce midline pressure, and the SRT model removes the nose altogether for a split-front setup.
Here is what that means for pressure mapping:
- If the map shows left-side overload, slide the left wing outward or tilt it slightly down.
- If the map shows a hot spot in the perineum, narrow the front opening.
- If one sit bone carries extra load only while pedaling under pressure, re-check the map and adjust that wing independently before confirming the fit.
BiSaddle's Saint model pairs that adjustability with a 3D-printed surface layer built for pressure distribution.
Steps for Using a Pressure Map with BiSaddle
- Start with a sit bone width measurement. A firm pad or sit bone measuring tool gives a starting number for the rear width. Set the BiSaddle wings close to that width before the first map.
- Capture a baseline map in your normal riding position. Note the peak pressure location, left-right balance, and the size of any midline contact patch.
- Adjust in small increments, 2 to 3 mm at a time. Re-test after each change. The pressure software shows whether the peak has moved off the midline and onto the sit bones.
- Map while pedaling, not while sitting still. A static map misses how the saddle behaves under load. BiSaddle's independent wing angle adjustment can correct asymmetries that only appear when pedaling.
Where Pressure Mapping Goes from Here
Pressure mapping for men is moving toward dynamic, wearable sensor arrays that record force during an entire ride instead of a 30-second lab session. The data will get richer. What remains scarce is the ability to act on that data without buying a new saddle. That is where adjustability changes the economics of fit.
A BiSaddle owner can re-run a pressure test every season, after a bike fit change, or after an injury and re-tune the same saddle. The map becomes a recurring maintenance tool instead of a one-time purchase trigger. If you schedule a pressure mapping service, know what you will use the data for. A map is useful only if the saddle can be changed.
BiSaddle closes that loop. Book the mapping session. Then bring the map to a saddle that can respond to it.